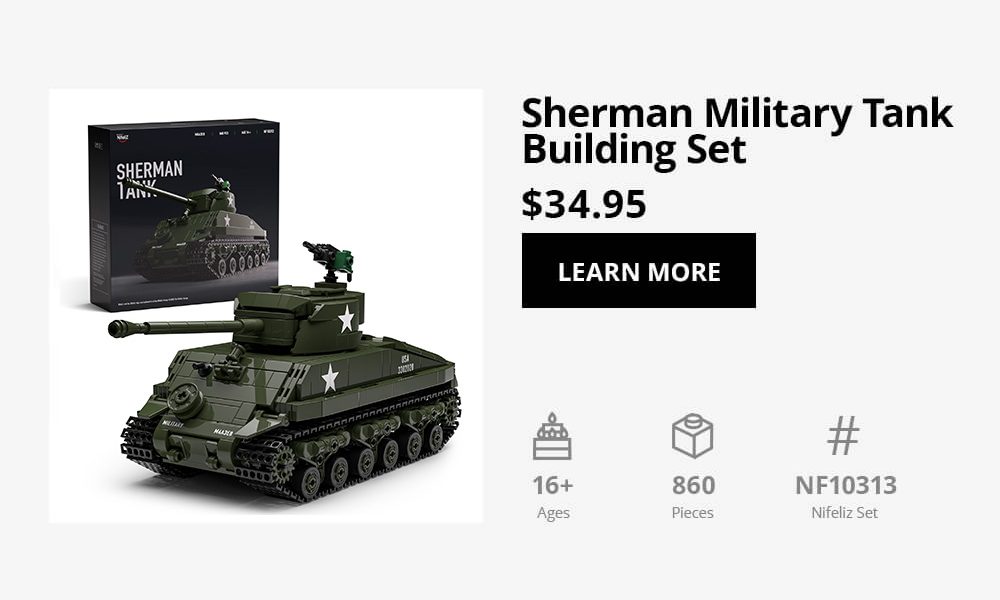
Sherman Military Tank Review ——Recreating the Legendary WWII Battle Tank in Bricks
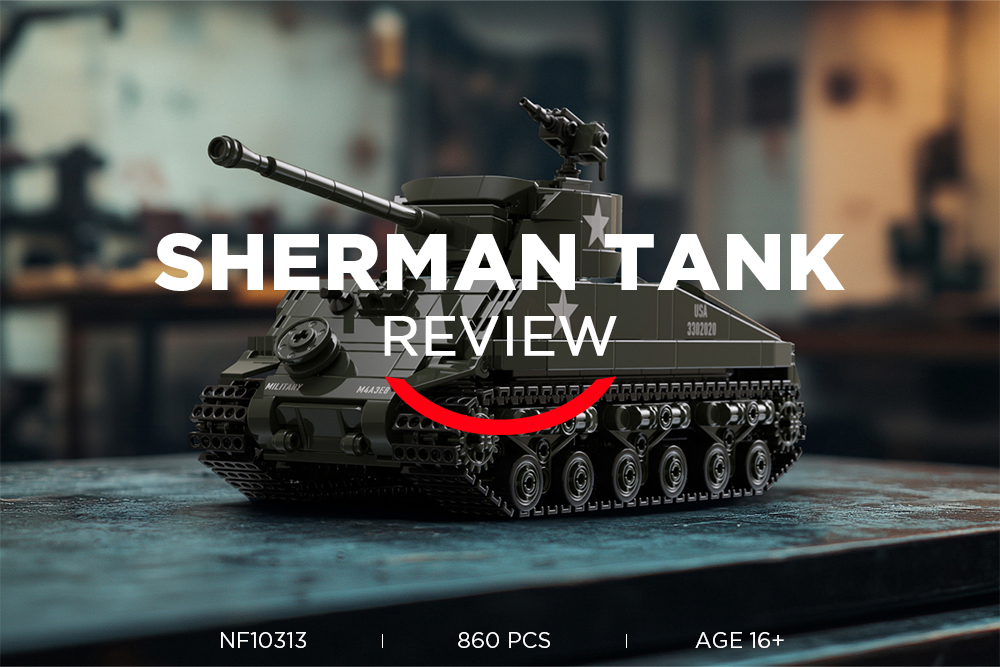
Preface
“This hands-on review is NifeliZ’s collaborative experiment in authenticity: a diverse team—from office professionals and LEGO enthusiasts to musicians and photographers—built our own kits alongside fans to experience their joys, struggles, and “aha” moments firsthand. By sharing raw insights into what works, what doesn’t, and how we’ll improve, we aim to create products that truly resonate with builders while offering you practical guidance.
Whether avoiding pitfalls or enhancing your creative flow, this collective journey—fueled by varied perspectives but united in purpose—is designed to make every assembly smoother, every connection more meaningful, and every build a shared story of growth.”
Hey everyone, it‘s Cecilia here again! As a die-hard brick enthusiast, today I‘m bringing you a classic from the WWII battlefield—the American medium tank, the Sherman. Known for its significant role in countless battles and affectionately nicknamed “Little Fatty”, this legendary tank isn‘t just an iconic piece of American military equipment; it‘s also often the “gateway tank” for many military model enthusiasts.
With its sturdy build and robust outline, assembling this model was nothing short of exhilarating. Let‘s dive in and see what surprises it has in store!
I.Packaging and Contents
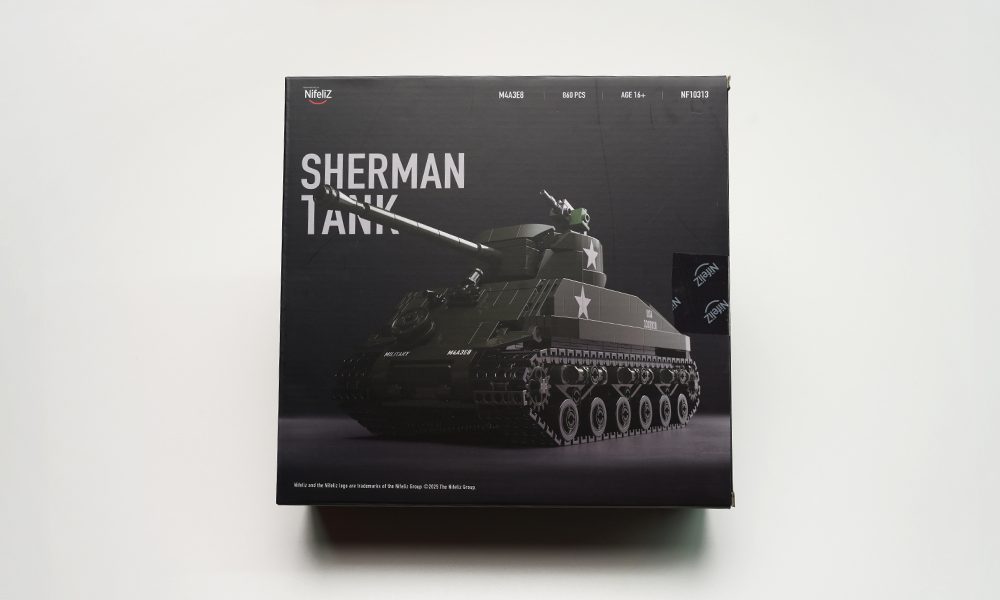
The packaging is pretty standard, featuring a design that embodies the spirit of American military tanks. Inside, everything is well-organized, and there were no missing parts. However, if you’re the kind of person who gets excited about unboxing gifts like it’s Christmas morning… you might feel a bit let down. The box is practical but lacks that festive unboxing experience.
Let‘s take a look at what‘s inside the box.
● 12 bags of parts (divided into 3 major sections)
Bag 1 (Steps 1–67): 4 bags
Bag 2 (Steps 68–103): 3 bags
Bag 3 (Steps 104–195): 5 bags
● 1 instruction manual
● 2 storage boxes
● 1 sticker
● 1 bookmark
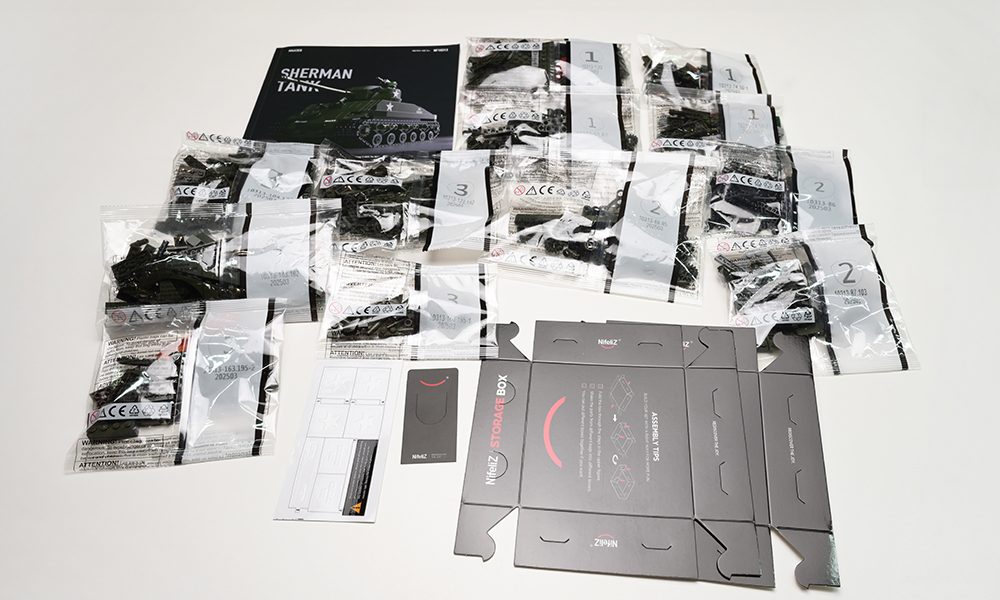
Tips: The sticker and bookmark are tucked inside the manual — don‘t miss them!
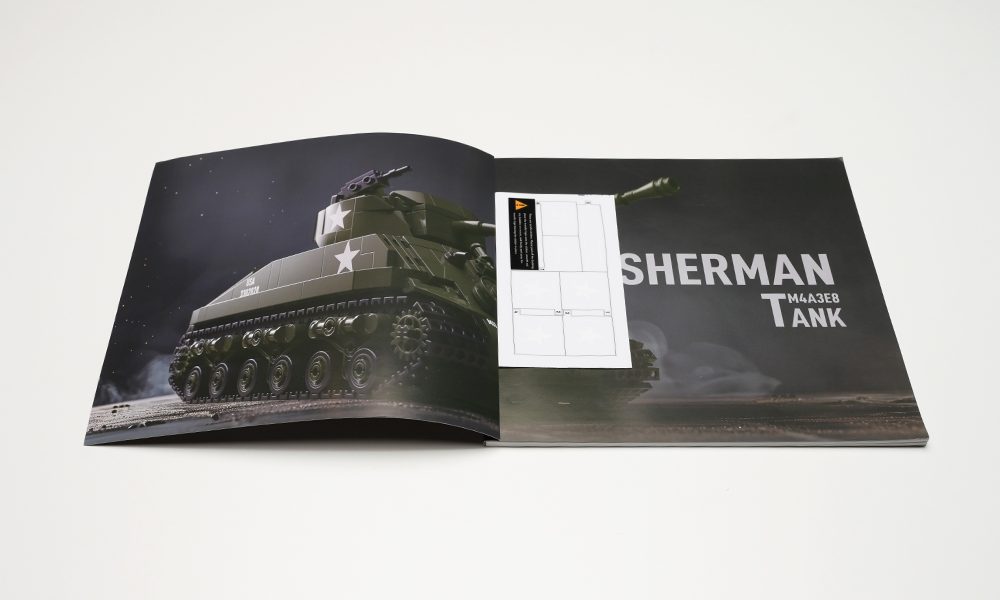
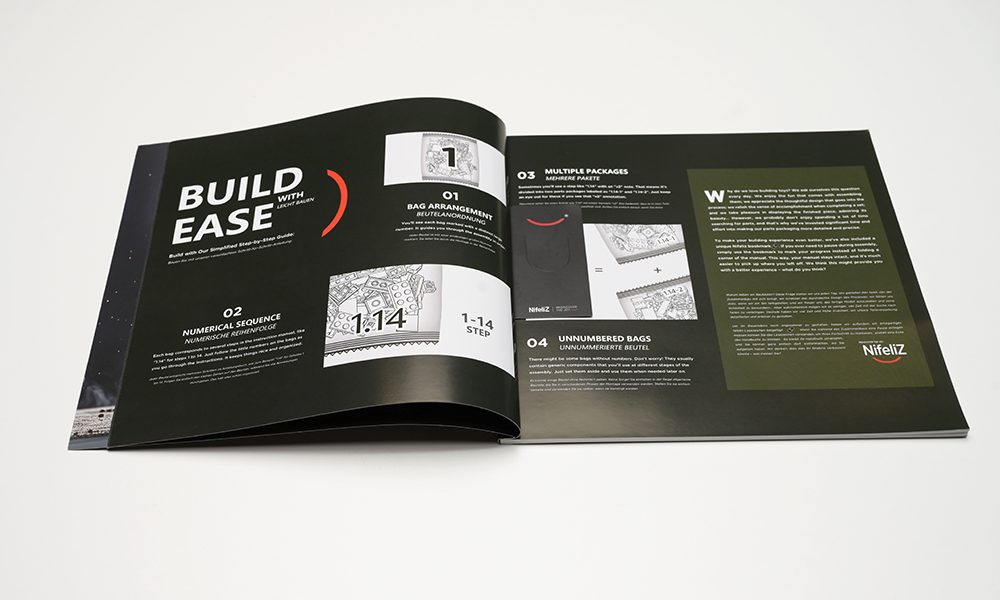
Everything is ready, let’s start assembling!
II. Assembly Process
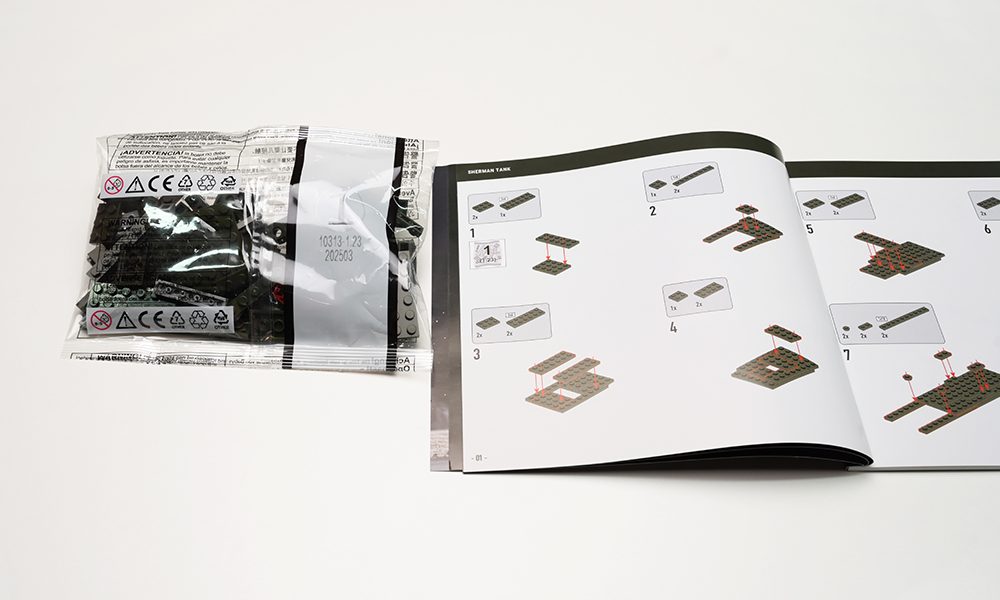
We begin with Bag 1, which contains four part bags for constructing the main body of the tank.

Start by grabbing Bags [1.23], which will form the tank‘s chassis. Be sure to press each piece firmly to ensure a solid structure.
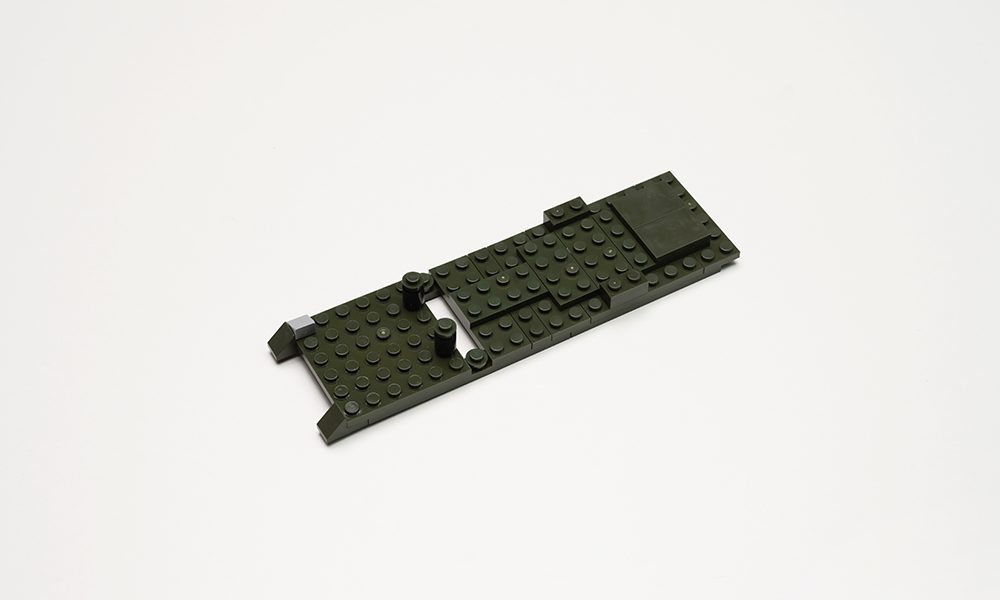
Steps 9, 14, 18, and 23 are crucial for building the basic framework. The assembly logic is clear, and the connections are smooth.
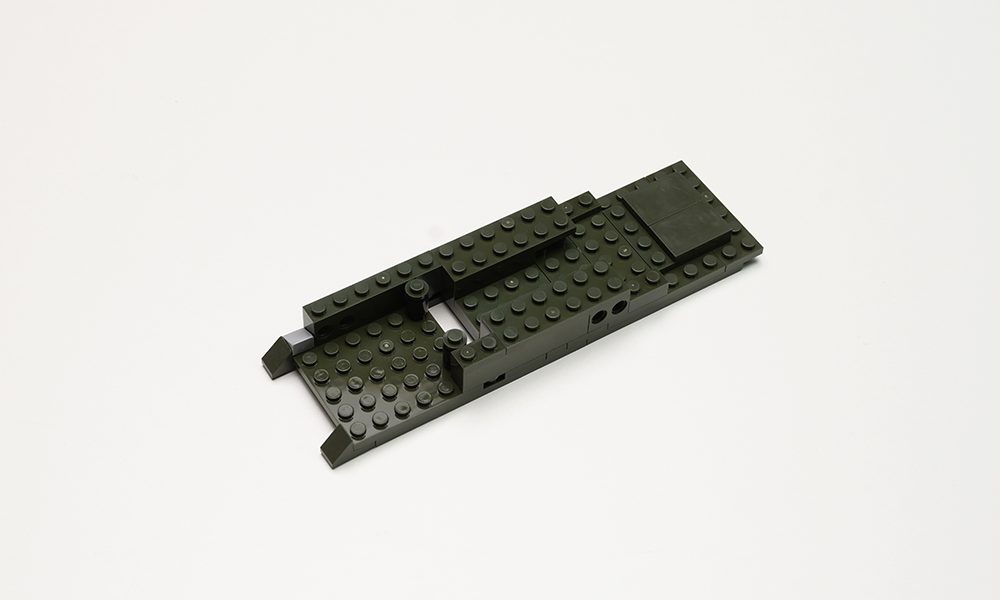
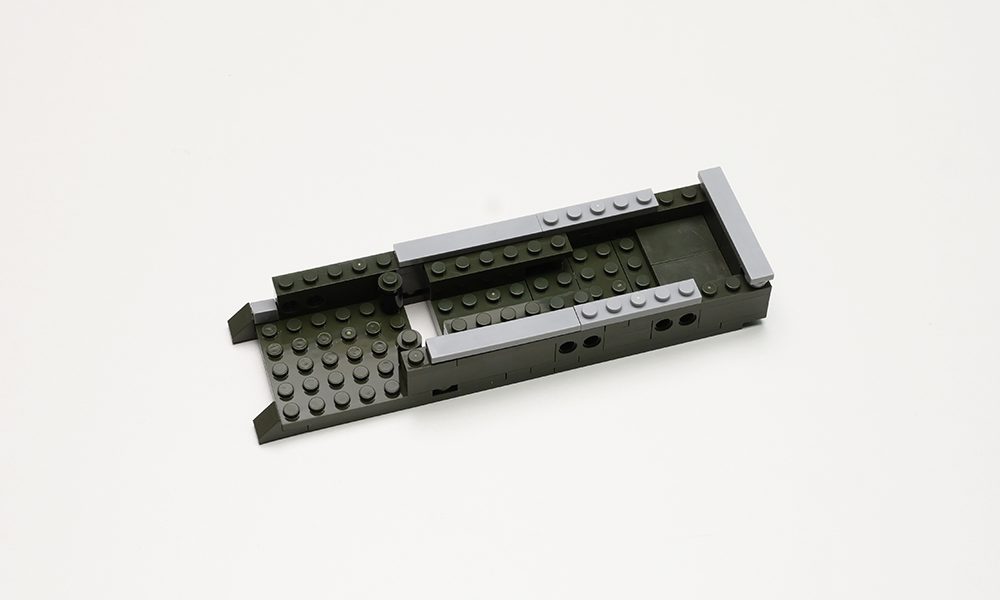
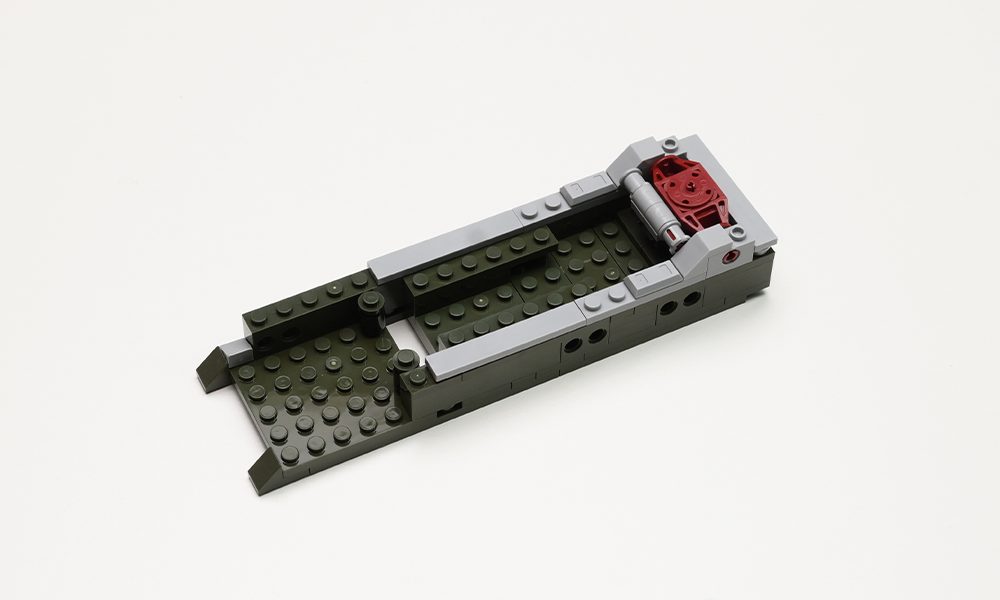
Next, move on to Bags [24.50], which involve installing the steering linkage system.
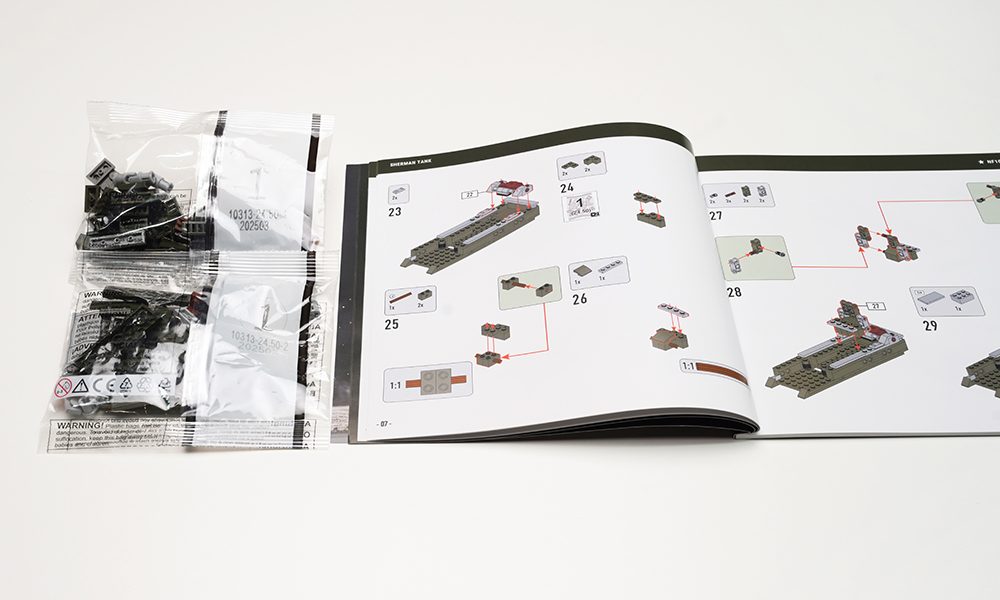
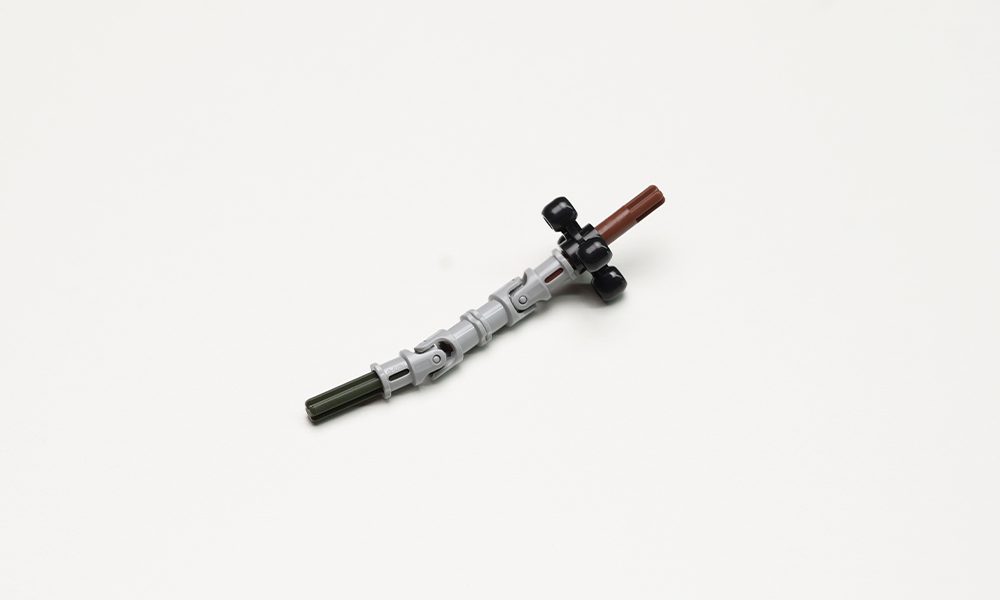
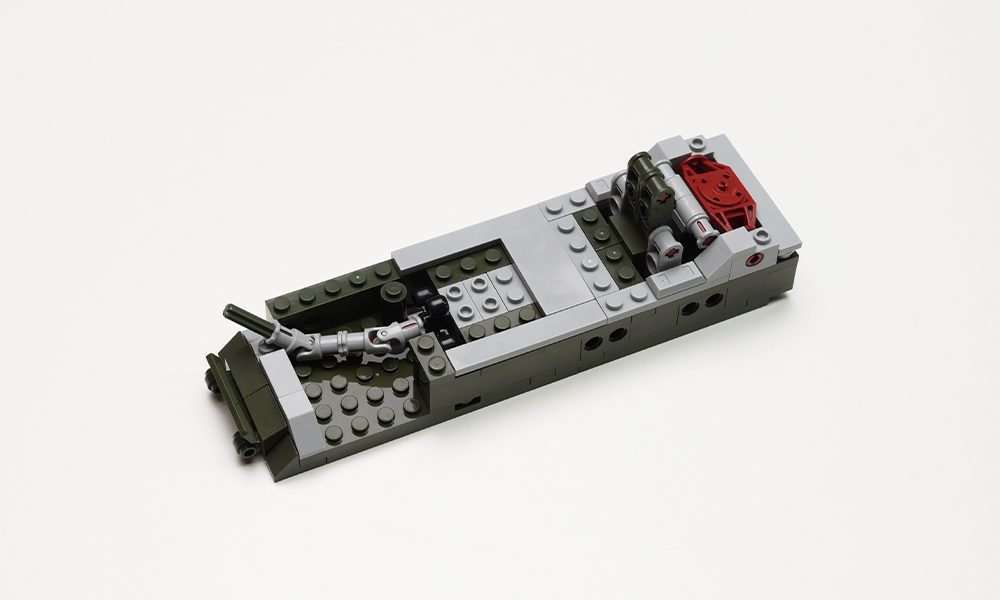
Step 49 completes the rear armor.
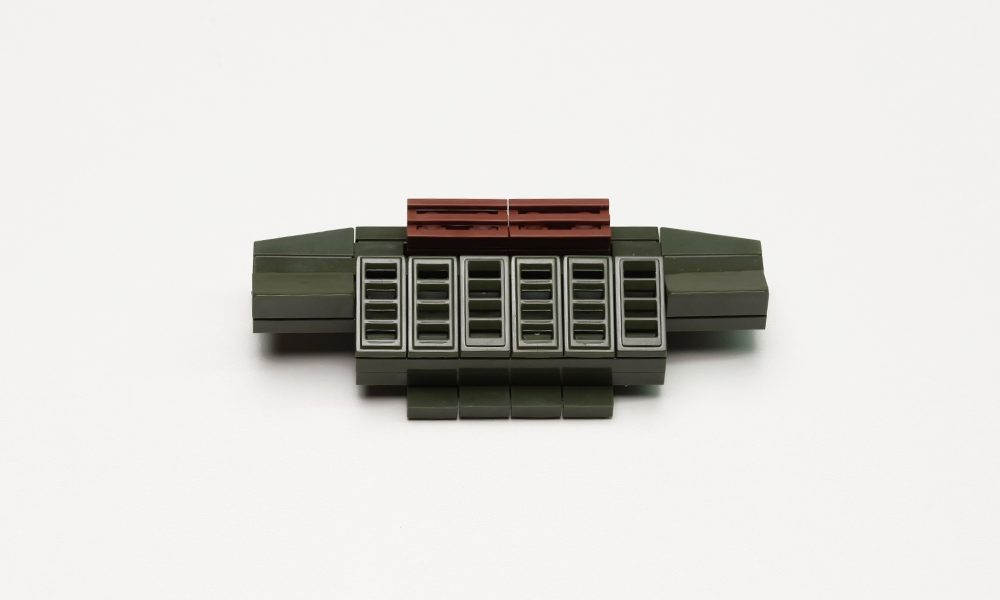
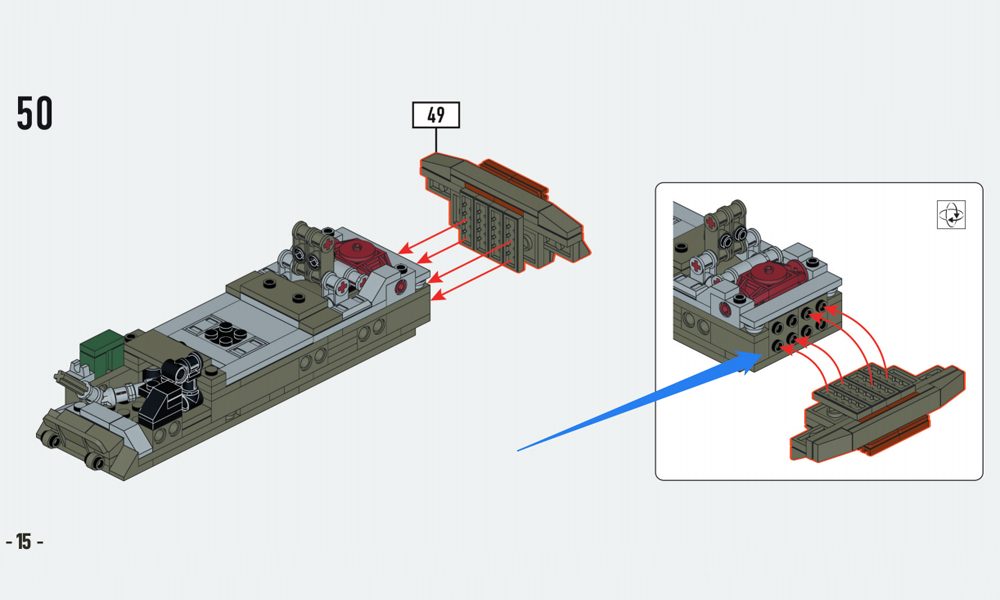
Step 50 is a critical step—be sure to carefully check the diagram on the right side of the manual. The parts must click into the bottom slot, or the engine cover won‘t fit properly later on.
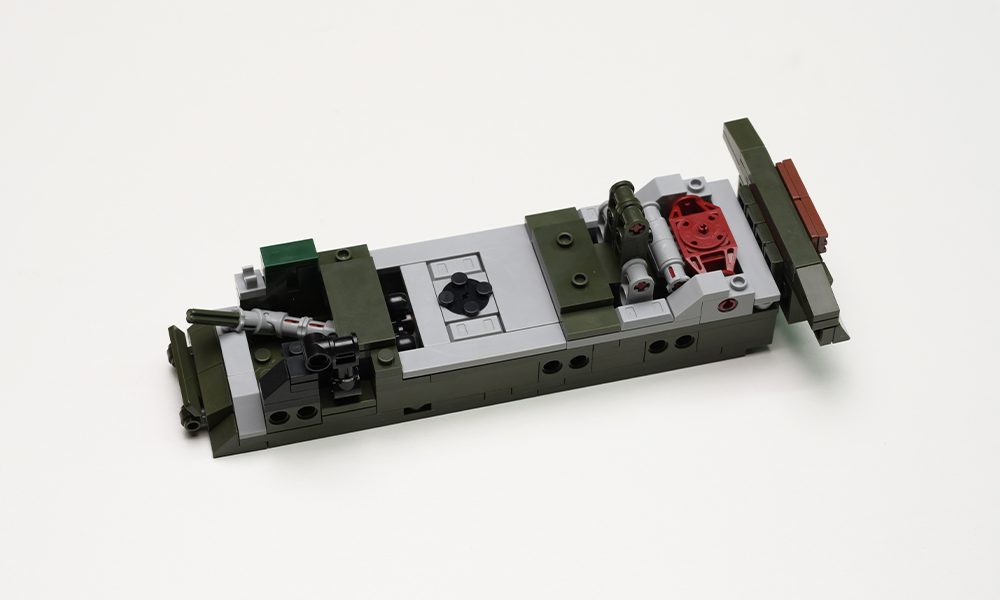
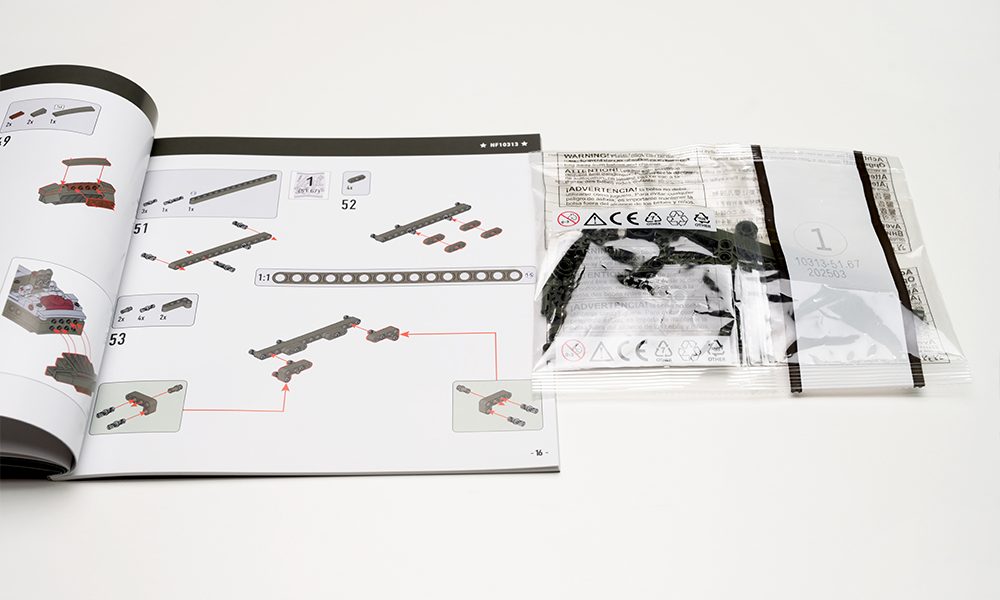
Continue with Bags [51.67], which are used to assemble the left-side suspension system.
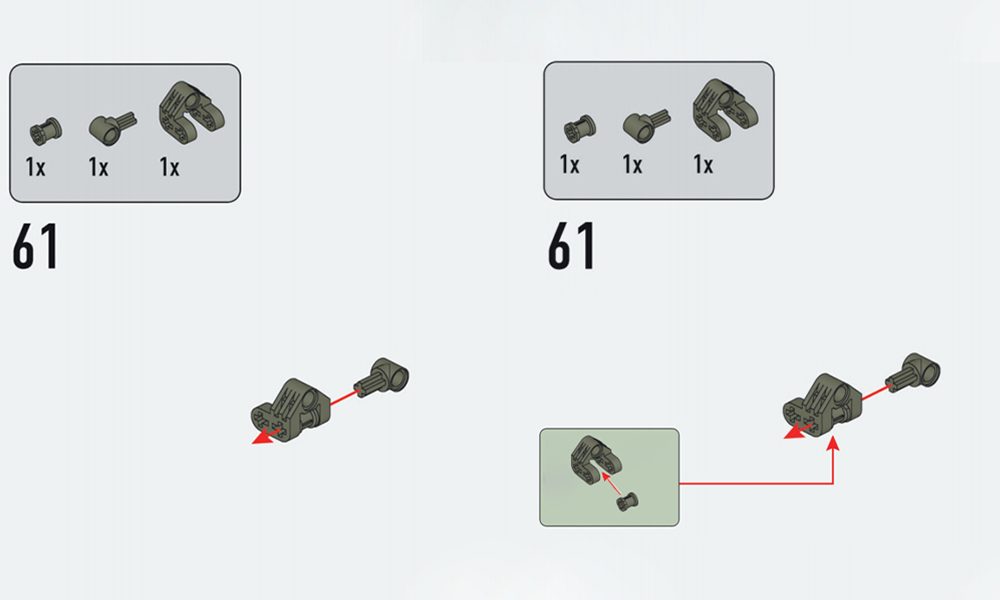
Step 61 involves a small hidden part, not specifically highlighted in the manual, so I‘d recommend adding a diagram to help in future versions.
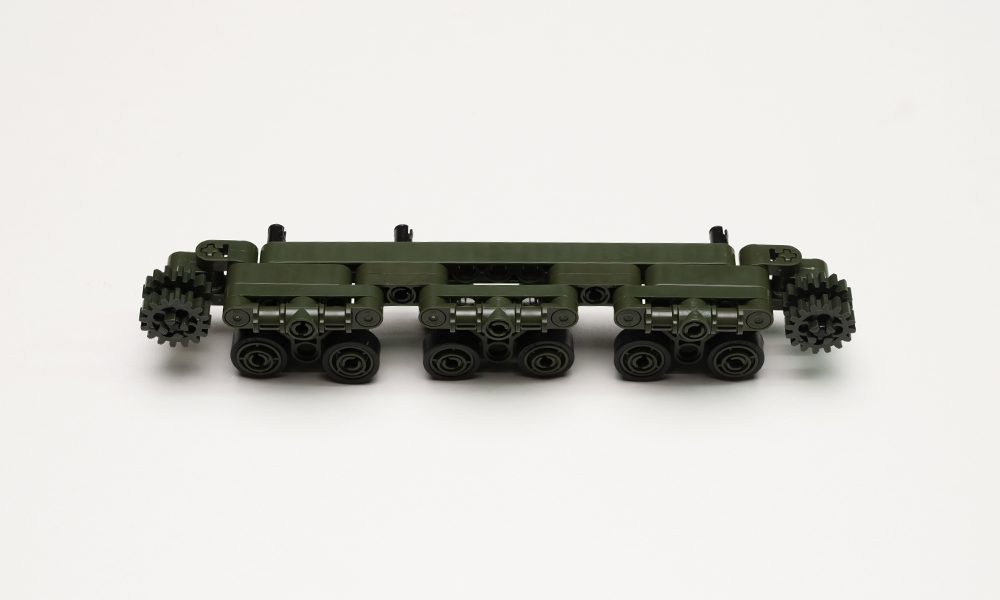
Once the left suspension system is done, Bag 1 is complete.
Now, we move on to Bag 2, which has three bags of parts.

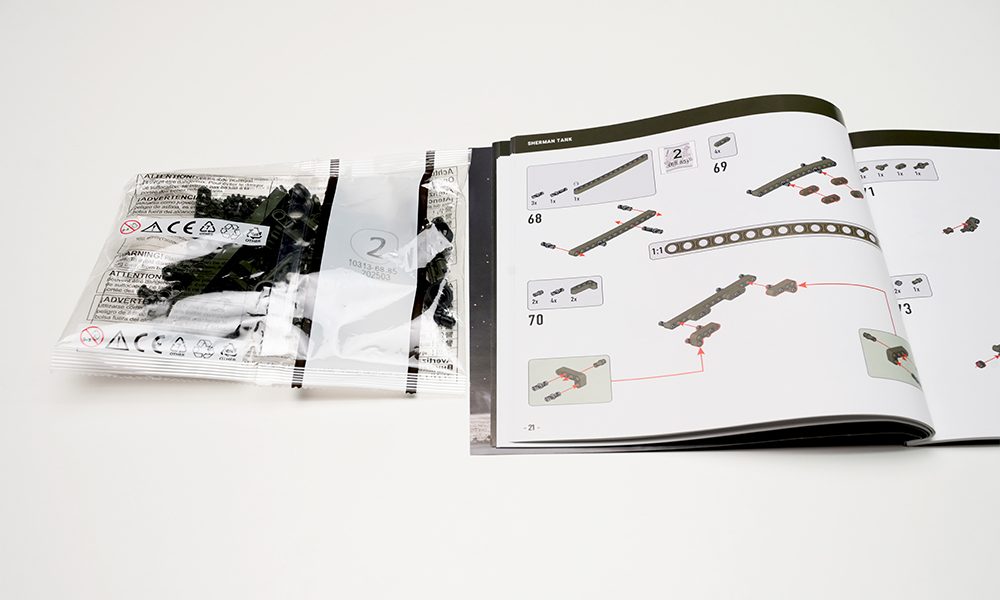
Start with Bags [68.85], which assemble the right-side suspension system. This side is a mirror image of the left, so just follow the steps symmetrically.
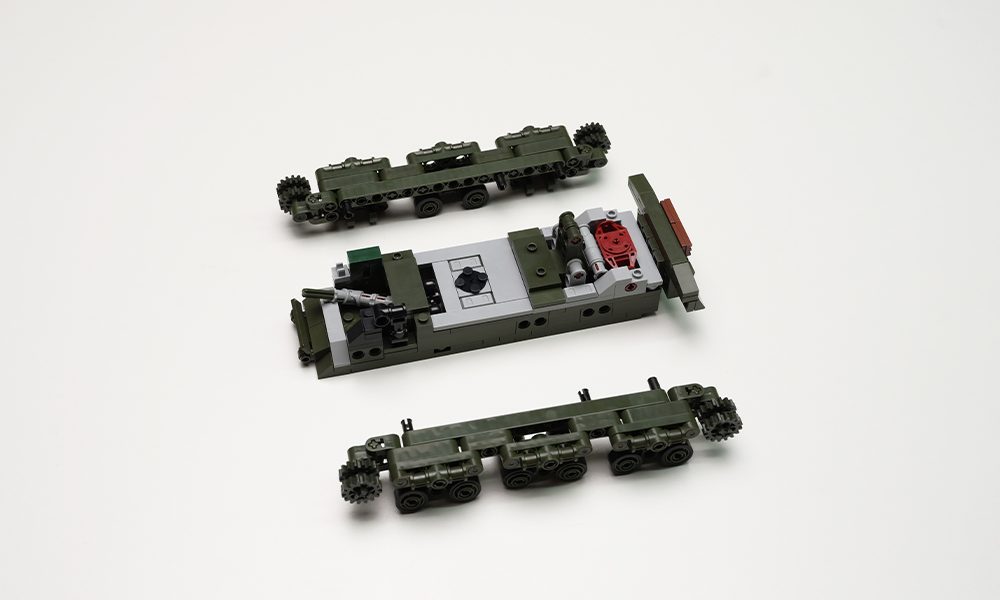
The suspension system is now complete, and the tank‘s body is beginning to take shape.
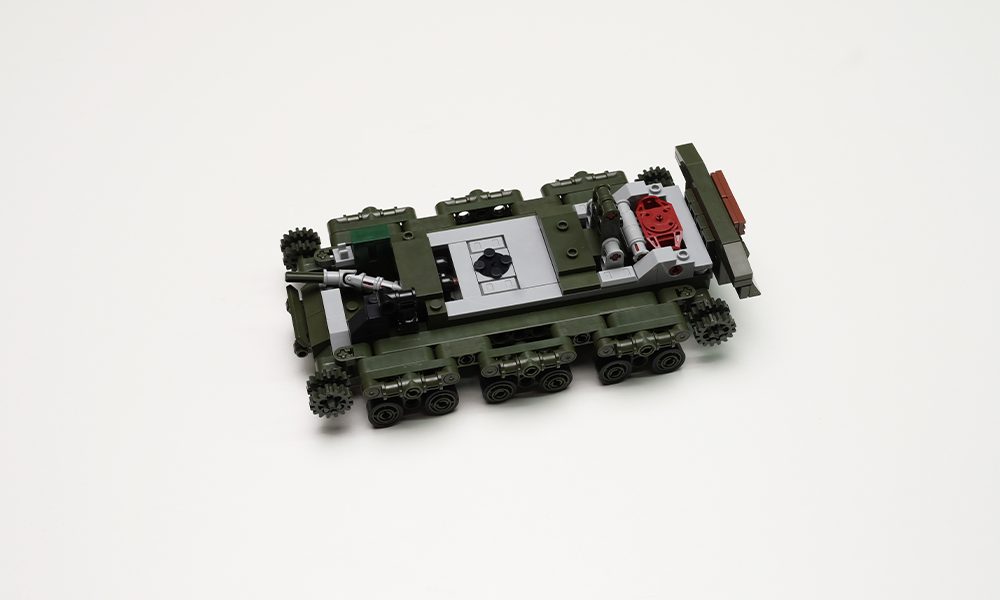
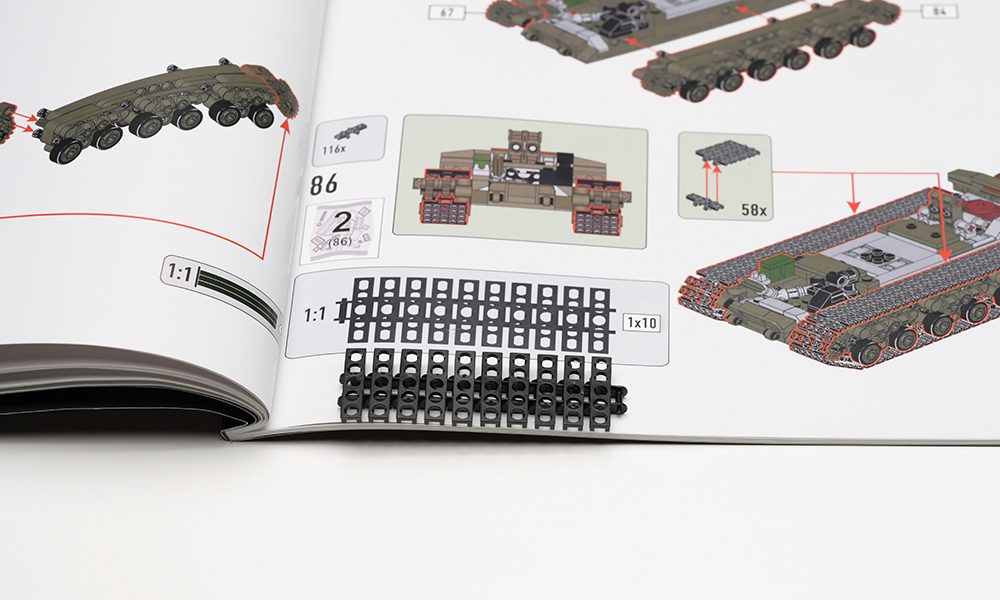
Now comes the classic track assembly! The tracks are packaged separately in Bags [10313.86].
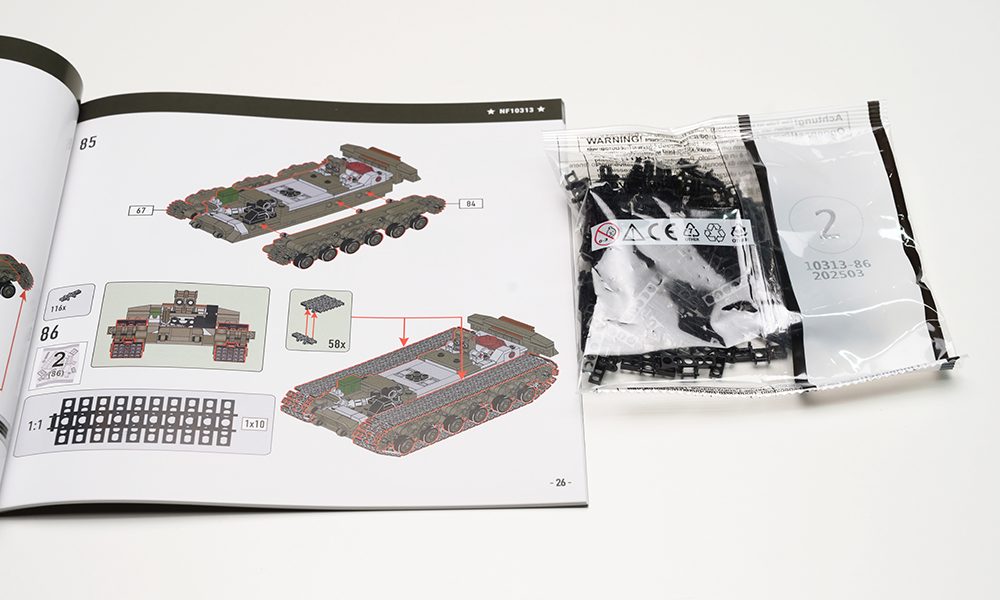
There are two tracks, each consisting of 58 small segments. The manual provides a 1:1 reference, so just follow the instructions step by step.
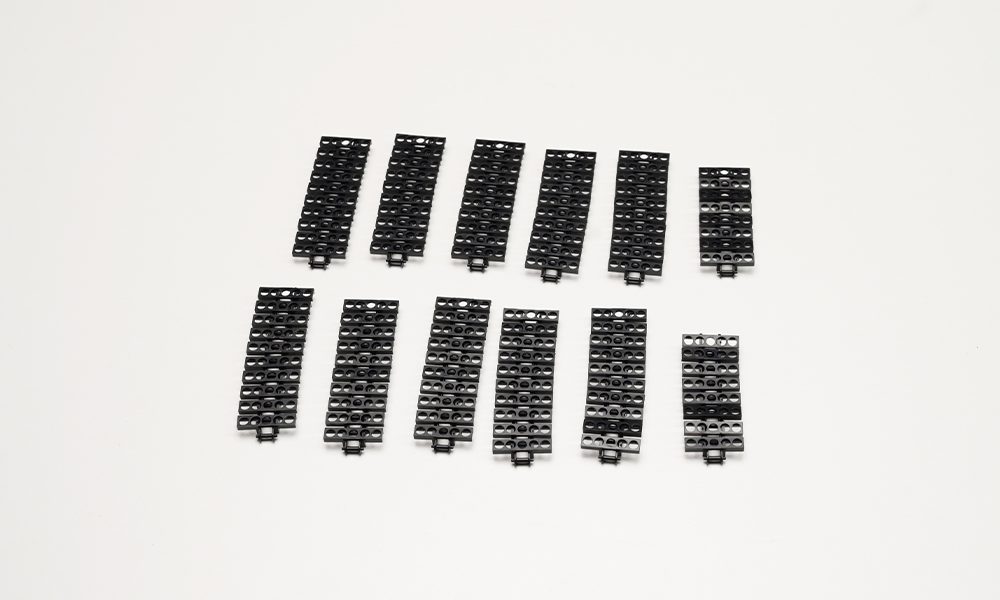
Once the tracks are on, the tank immediately feels more “battle-ready”.
Tip: The tracks won’t rotate on a smooth surface, they need to be on a surface with a bit of resistance.
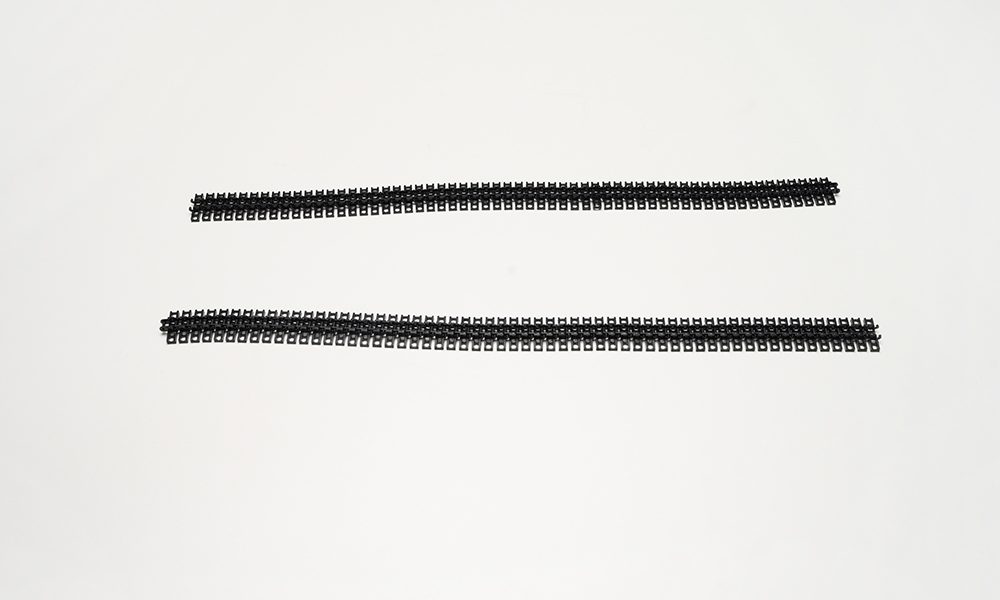
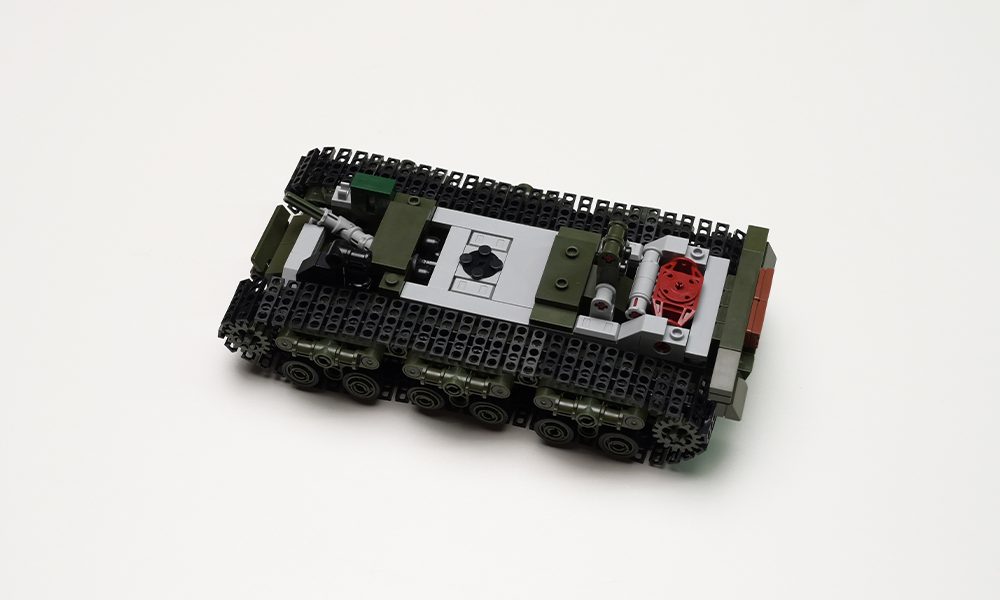
After the tracks are completed, move on to Bags [87.103], where you’ll assemble the turret rotation mechanism and front armor plates.
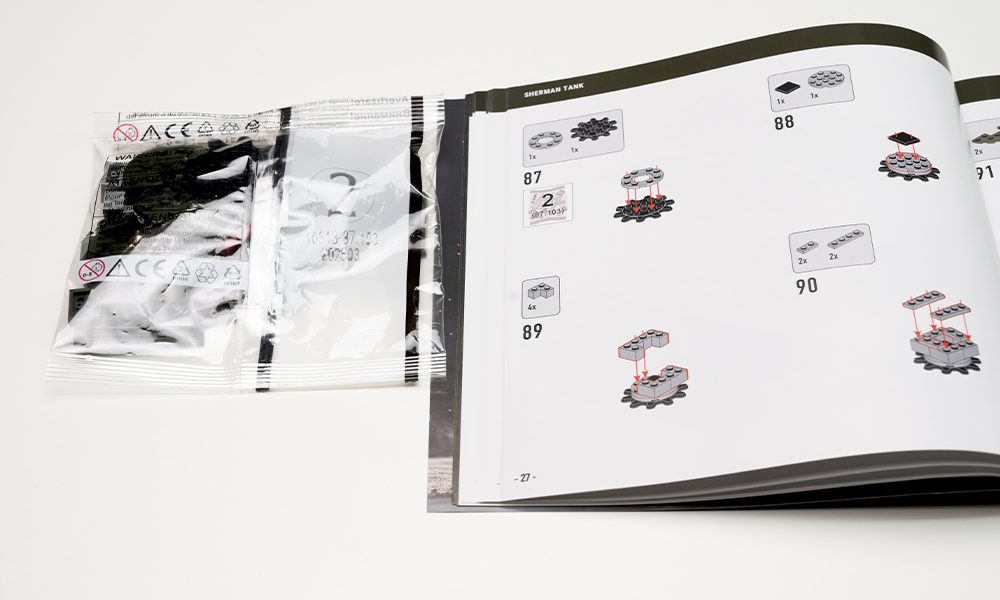
Step 92 finishes the turret base.
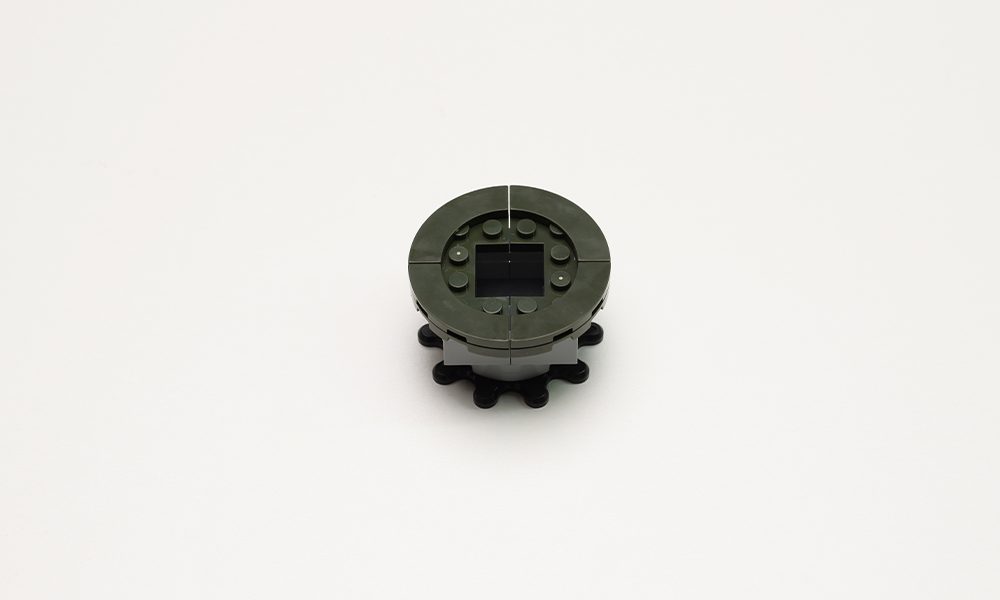
Step 93 requires attention to detail—refer to the diagram on the left side of the manual for proper installation.
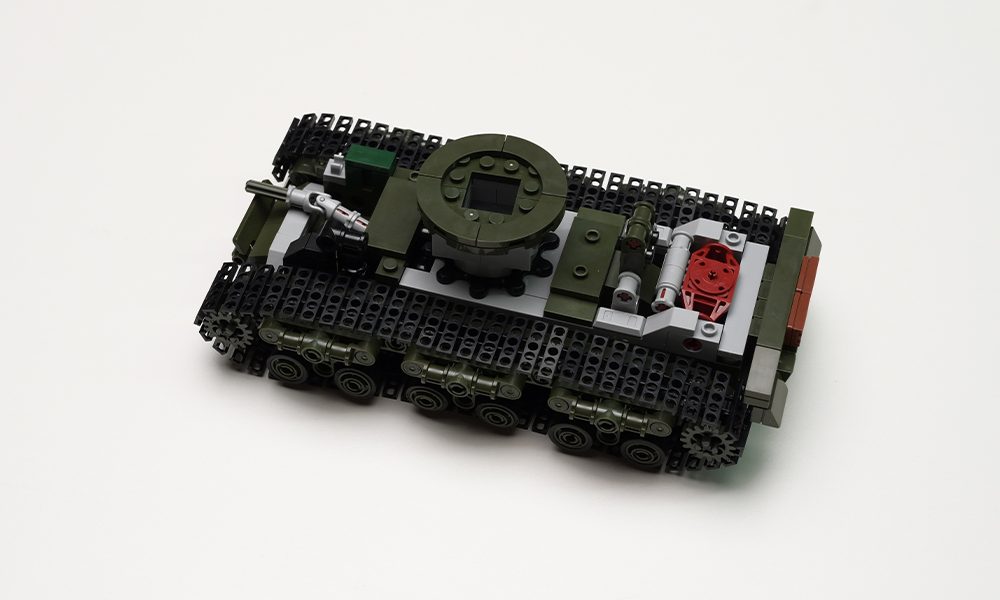
Step 102 doesn‘t secure the axle yet, but in Step 103, when you install the knob structure onto the axle, the rotation feels smooth. Don‘t forget to apply Sticker 5 to complete it!
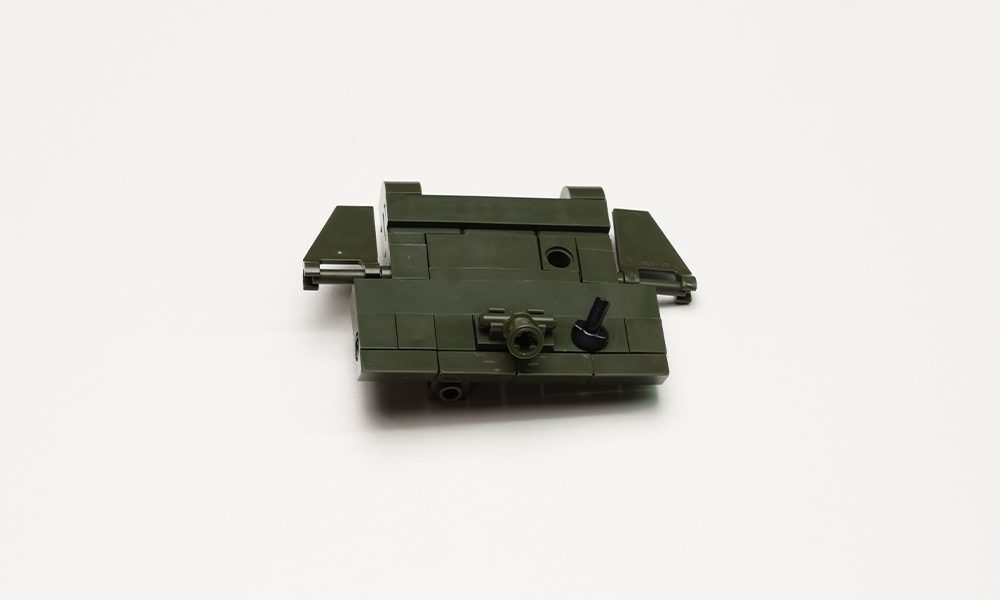
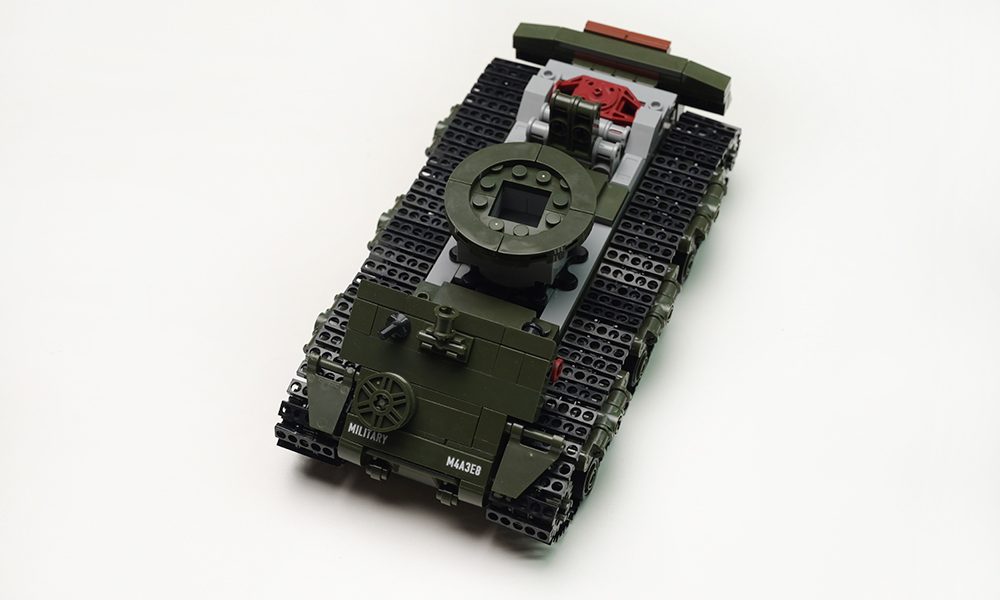
Now we enter Bag 3, which contains five parts bags.
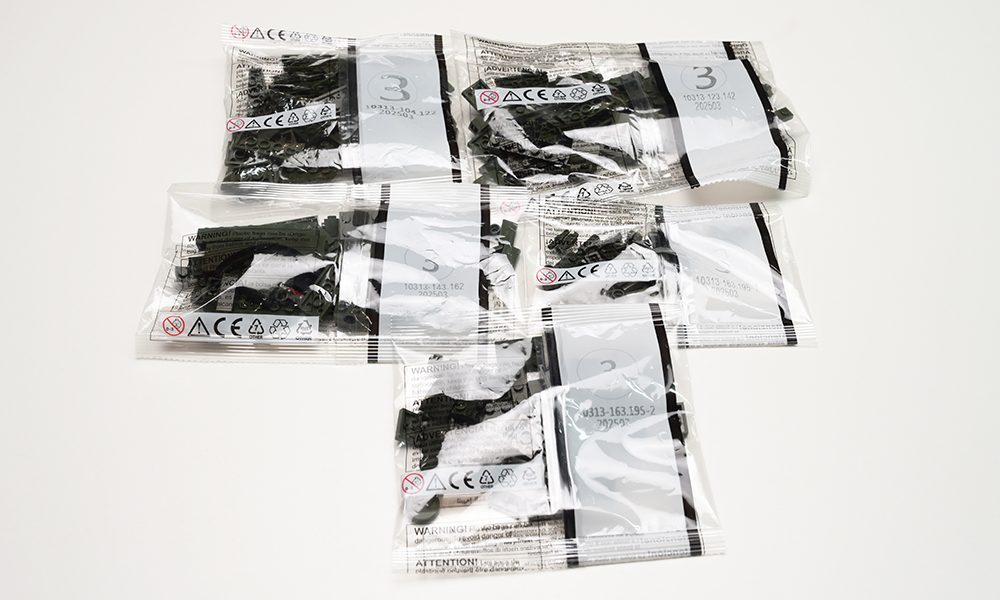
Start with Bags [104.122] to assemble the side armor plates.
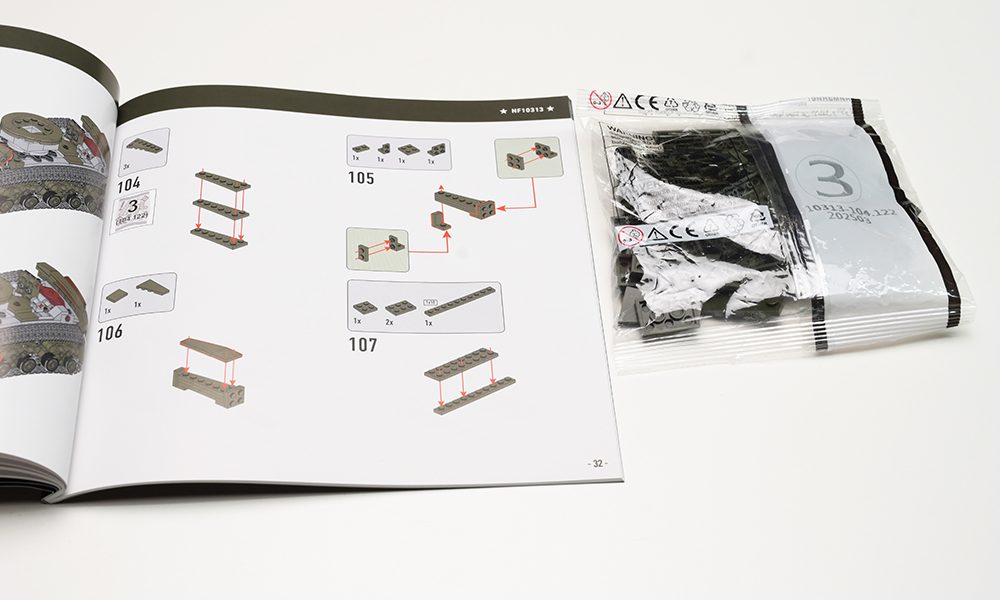
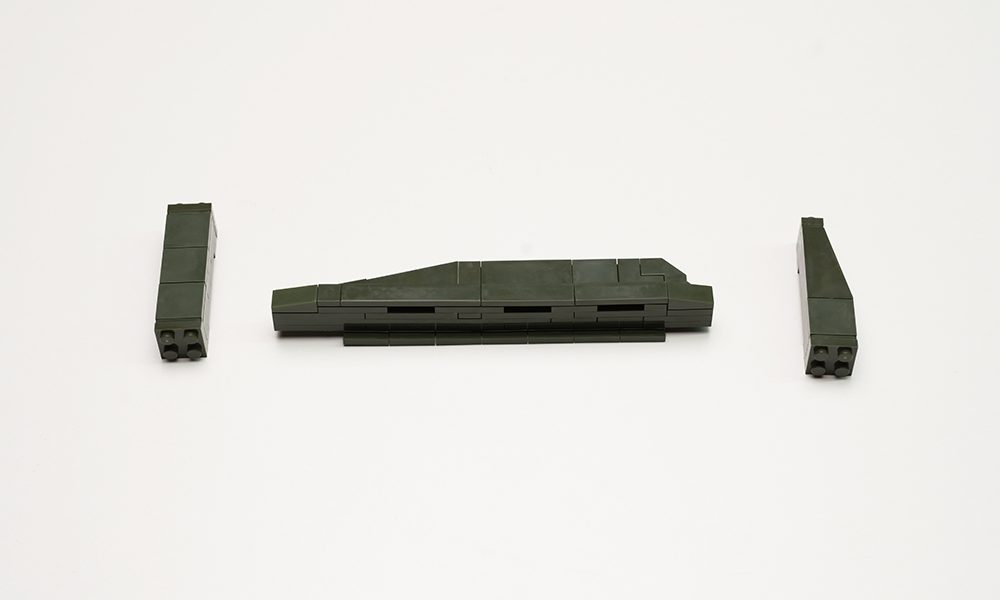
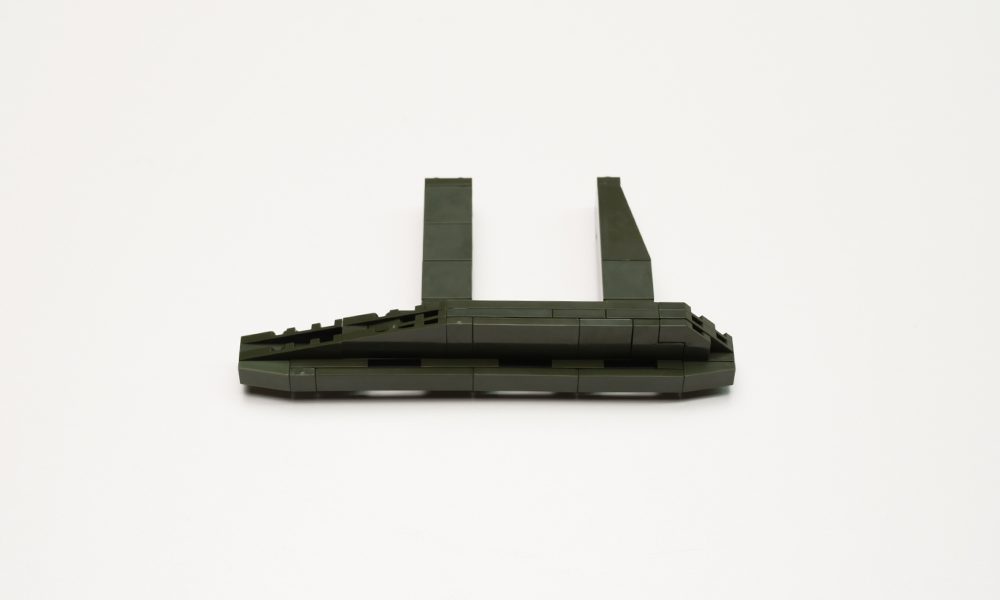
Next, use Bags [123.143] to complete the rest of the armor plates.
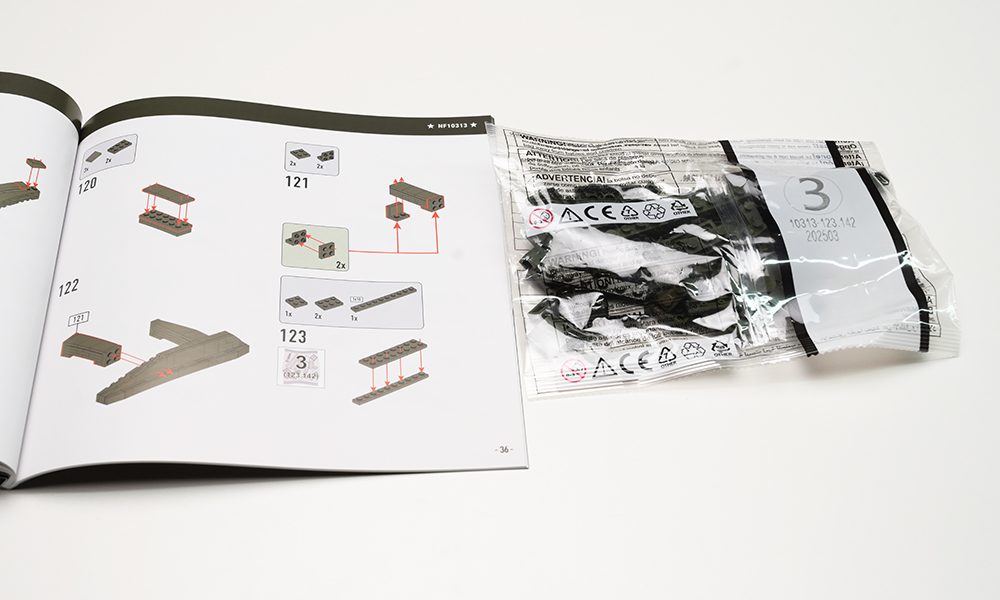
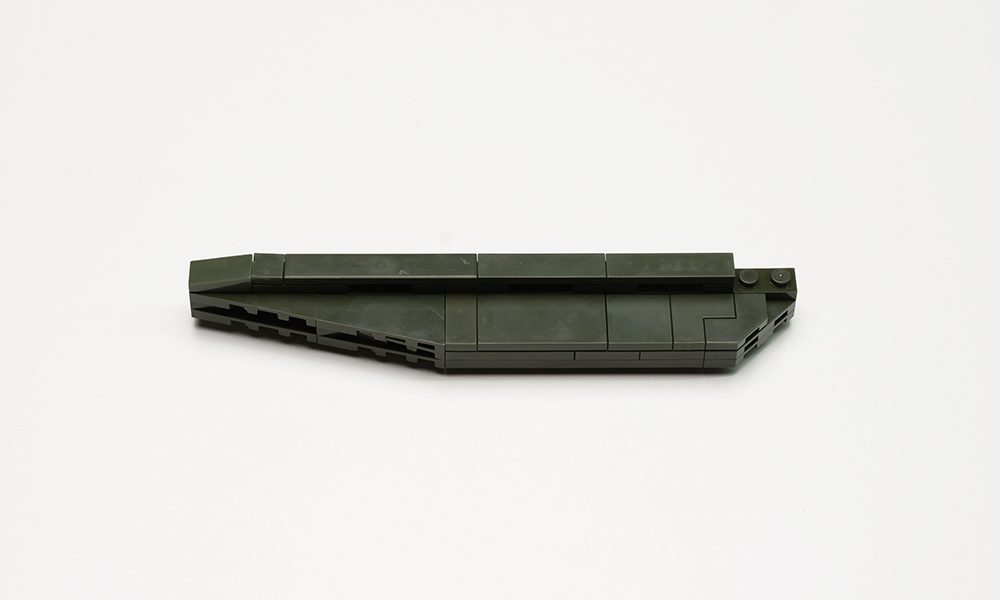
Once the side armor is complete, firmly attach it to the main body.
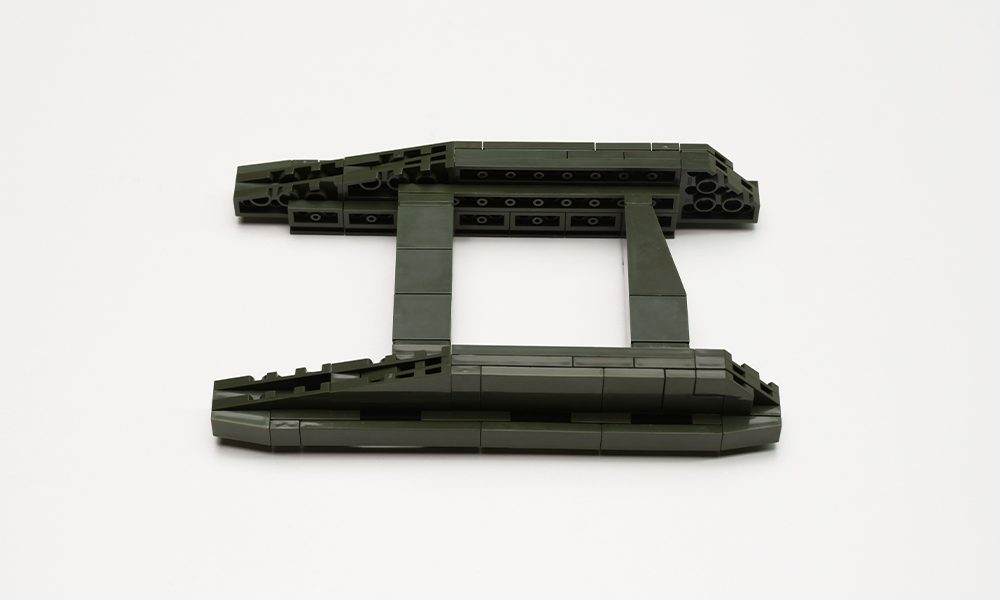
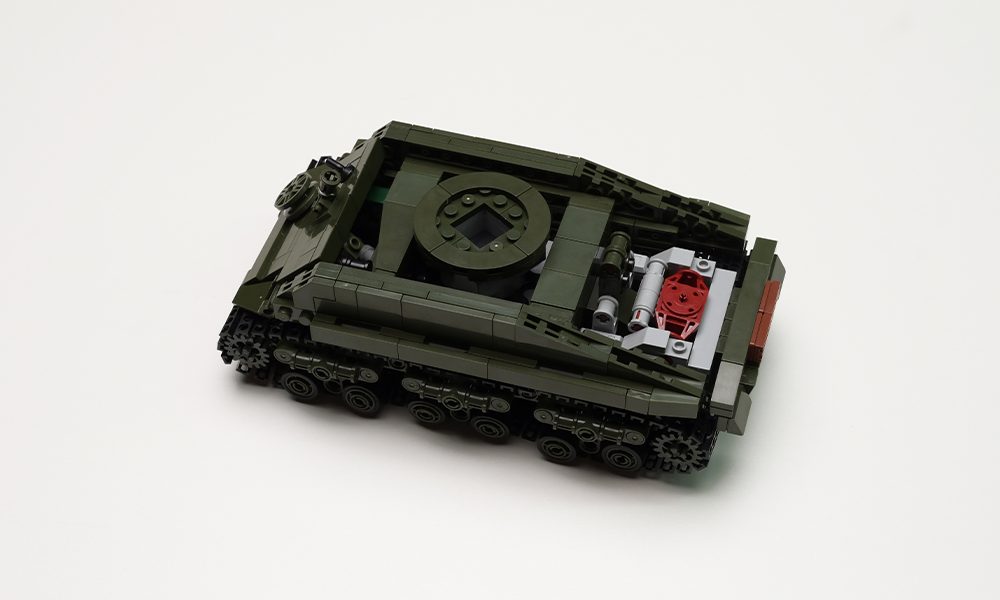
Now, we assemble the engine cover.
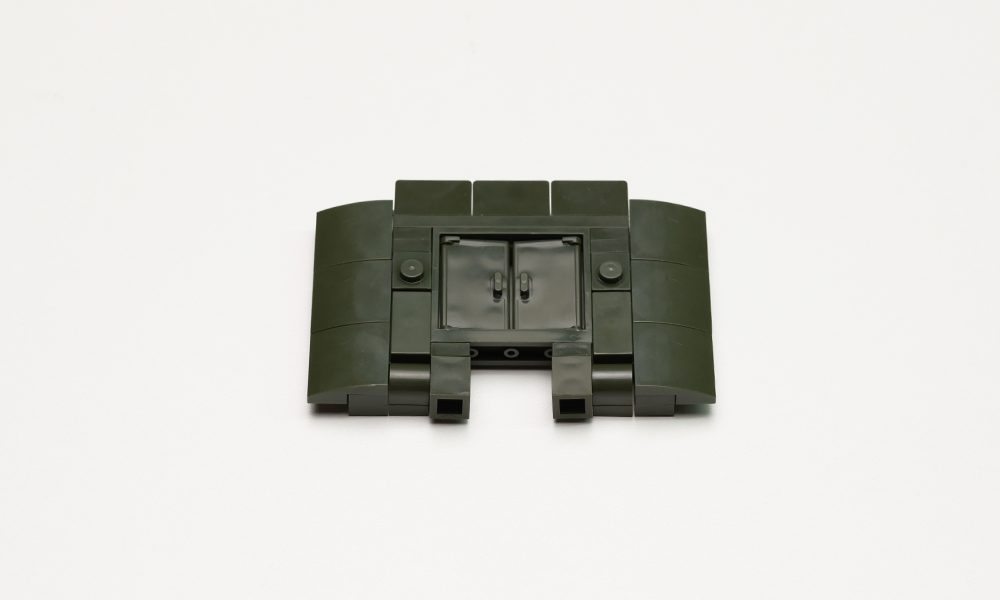
Step 142 is a bit tricky—it doesn‘t have a locking mechanism, just a “light placement“ feature. If it keeps falling off, it‘s probably because Step 49 was done incorrectly, so double-check that.
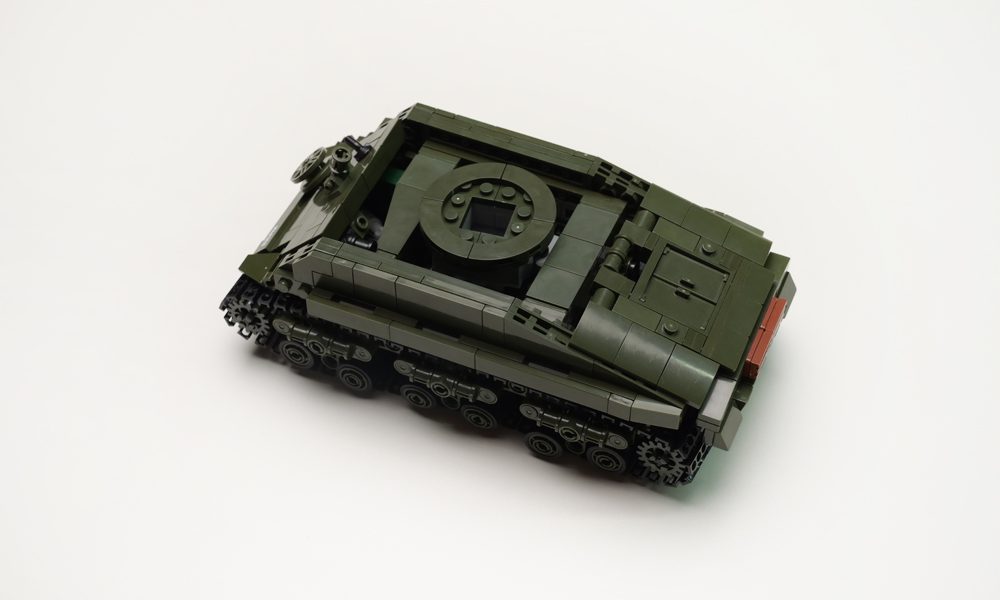
Next, continue with Bags 143.162, which include the turret base and turret assembly.
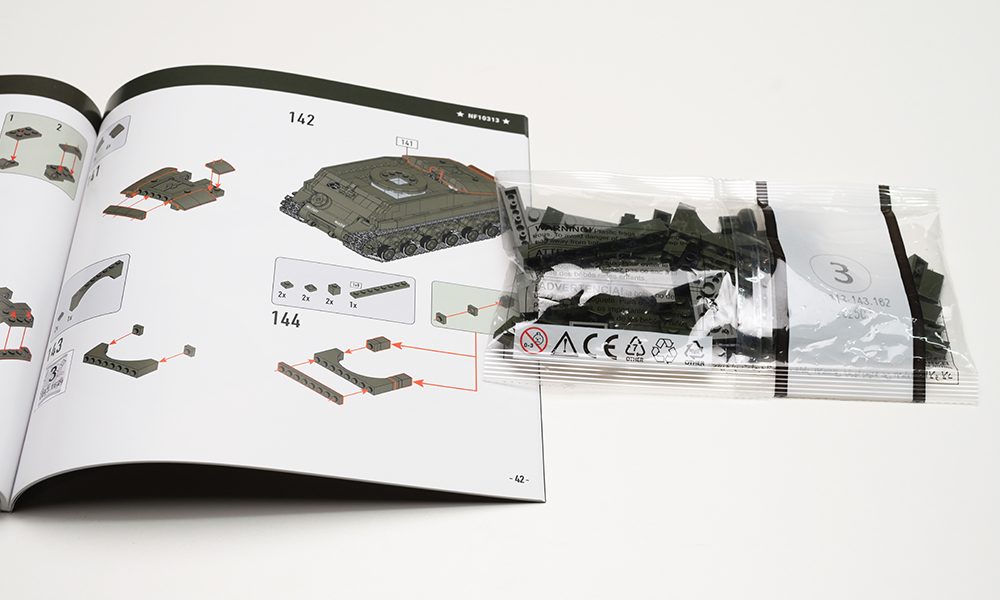
Step 147 completes the turret base.
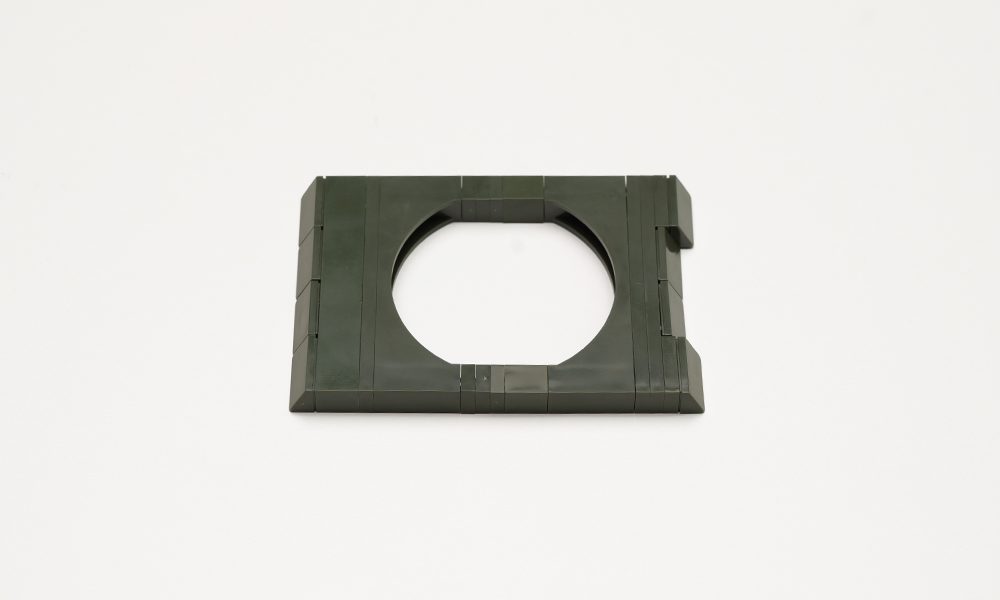
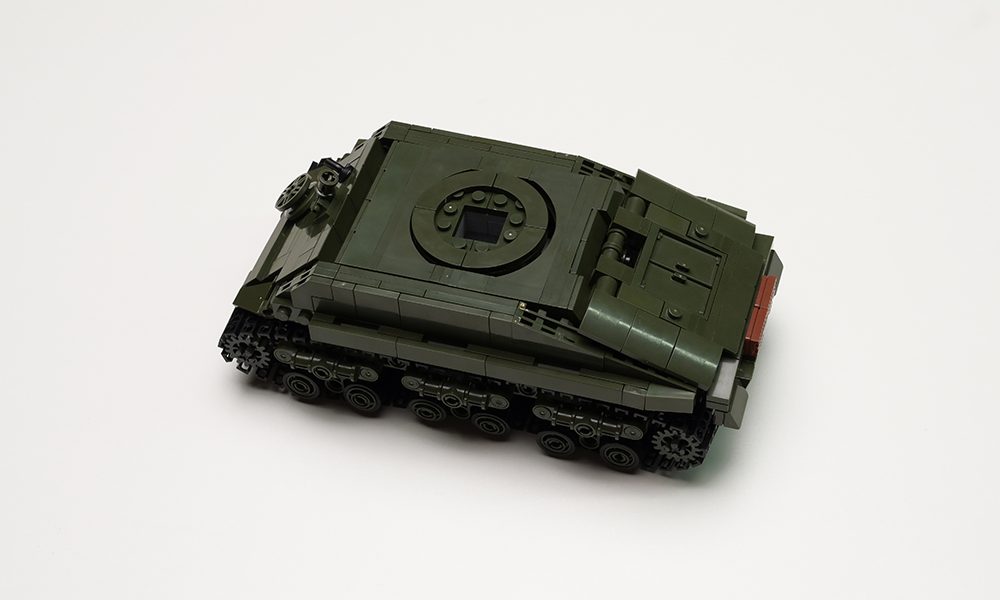
This part has a slight defect, but it doesn‘t affect the structure — it just looks a bit “rough”.
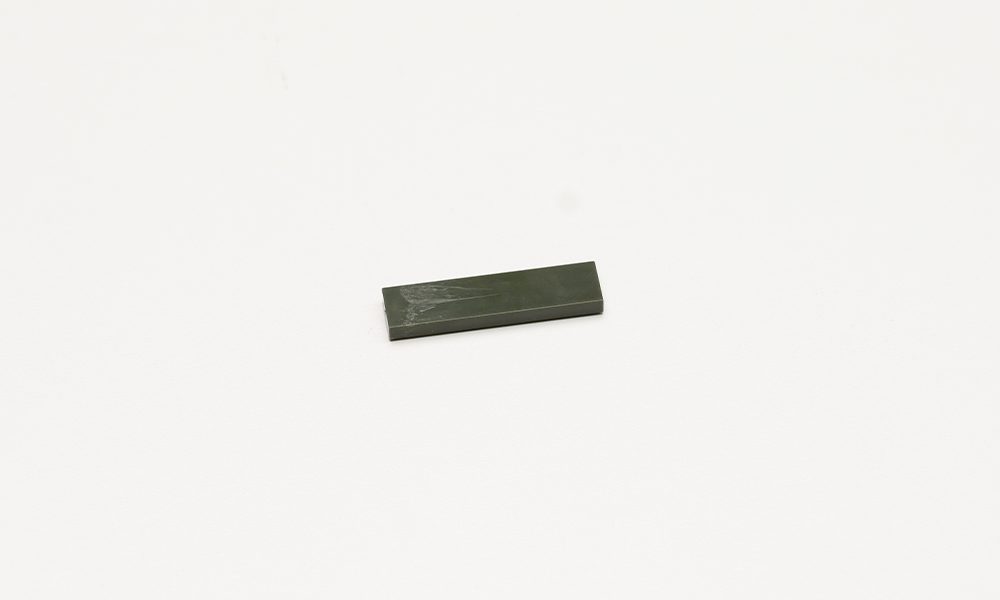
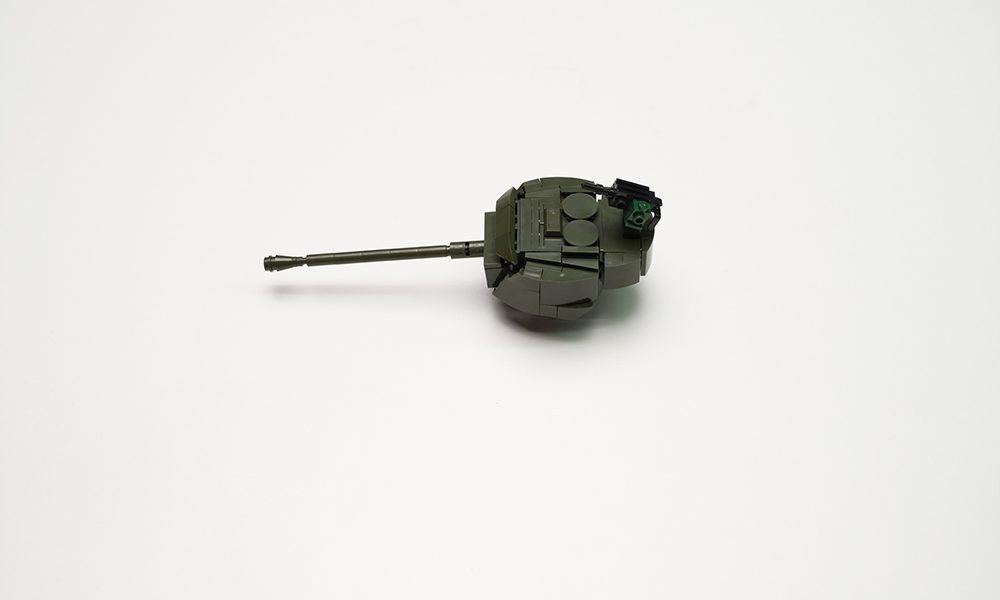
Begin assembling the turret itself
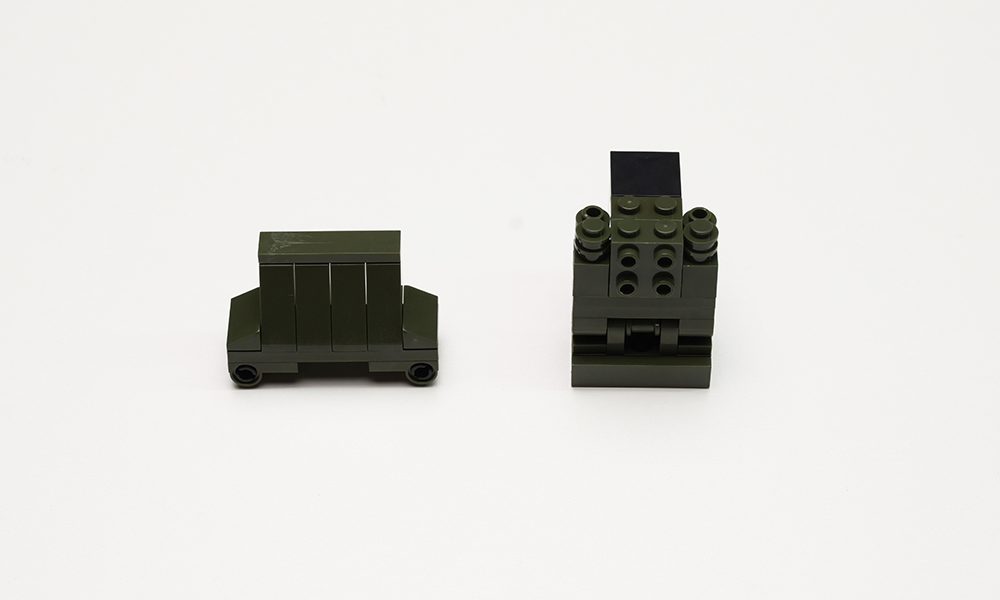
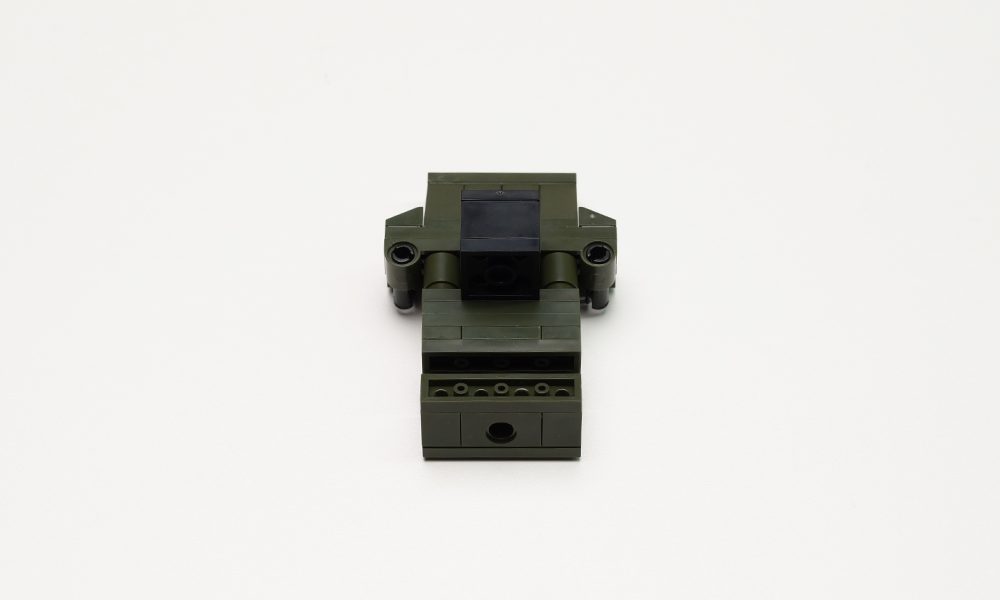
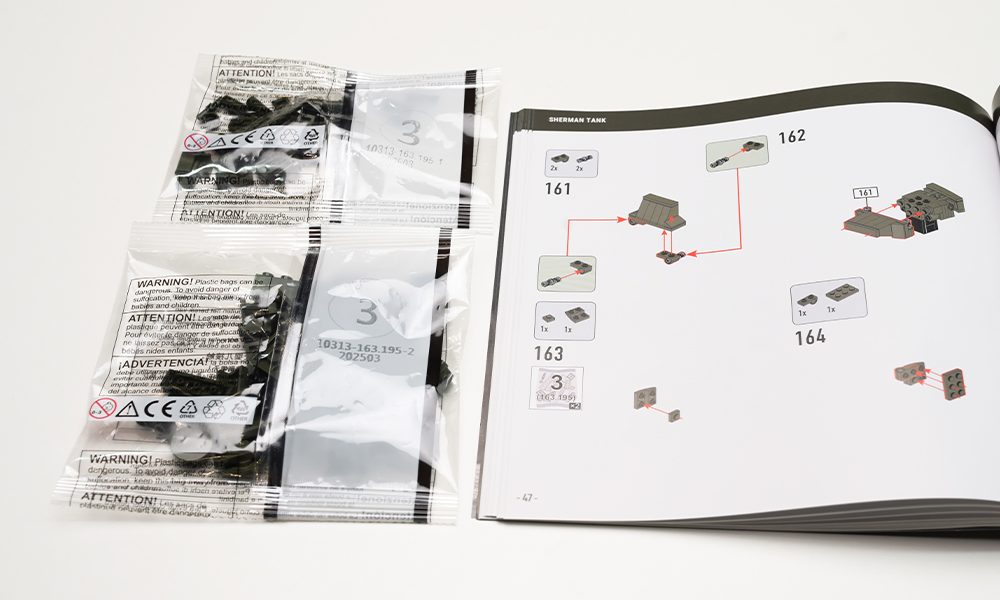
Now we’re down to the last two bags, [163.195-1] and [163.195-2], for finishing the turret.
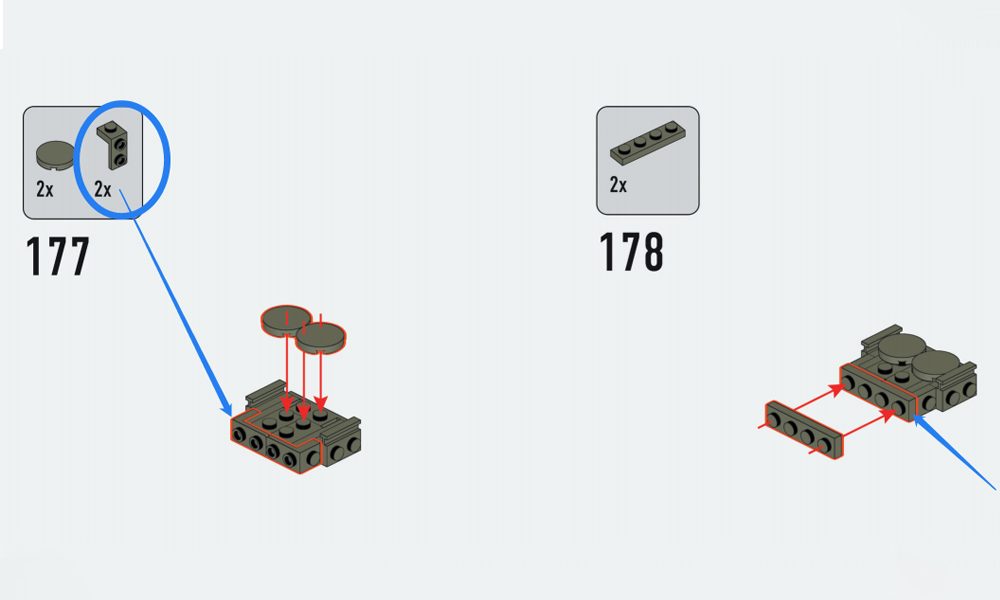
There‘s a slight tolerance issue between parts in Step 177, which causes resistance when joining a 1×4 brick in Step 178. This might result in a slight misfit.
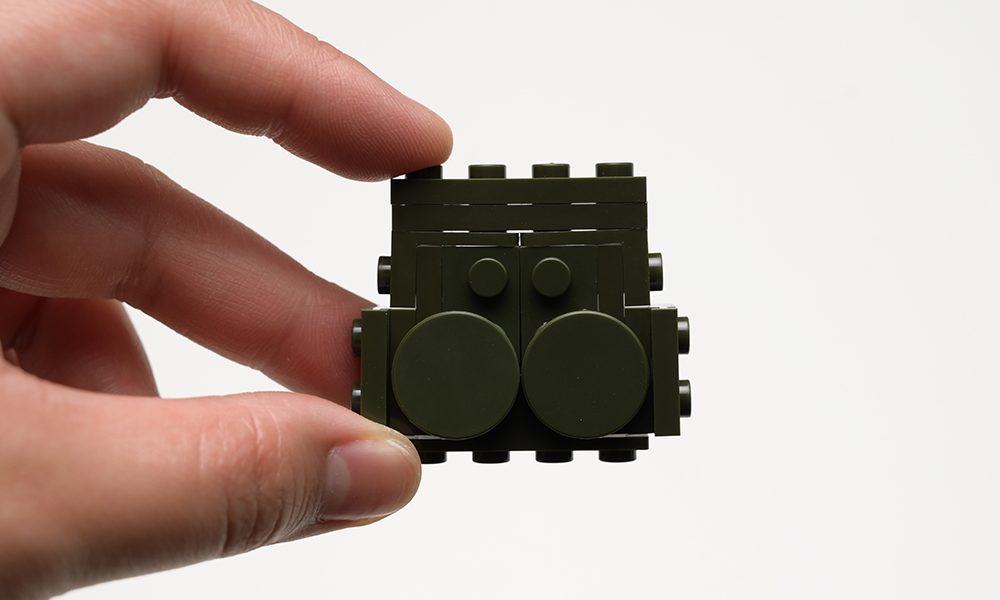
Step 182 shows the turret assembly progressing.
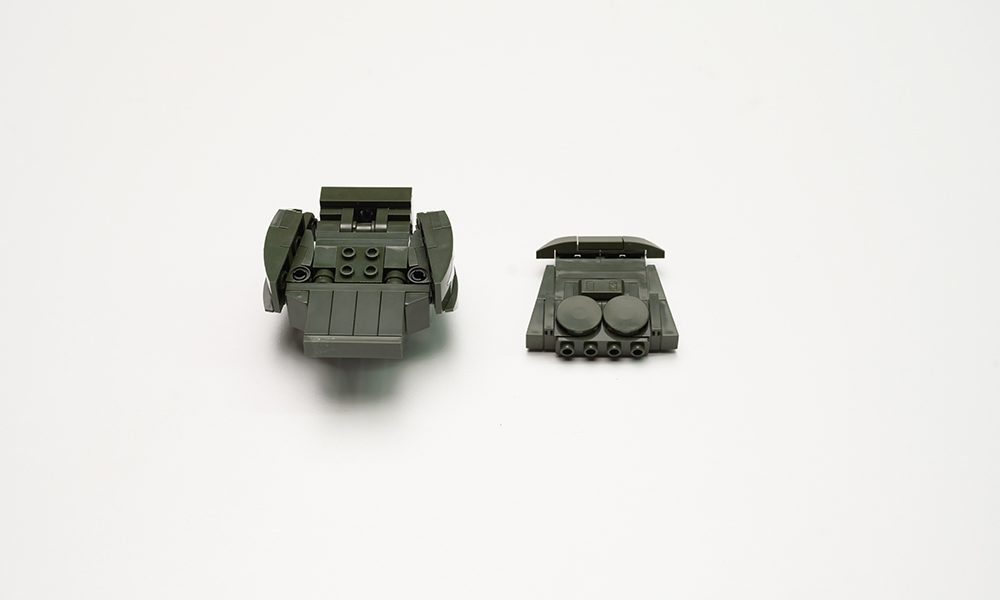
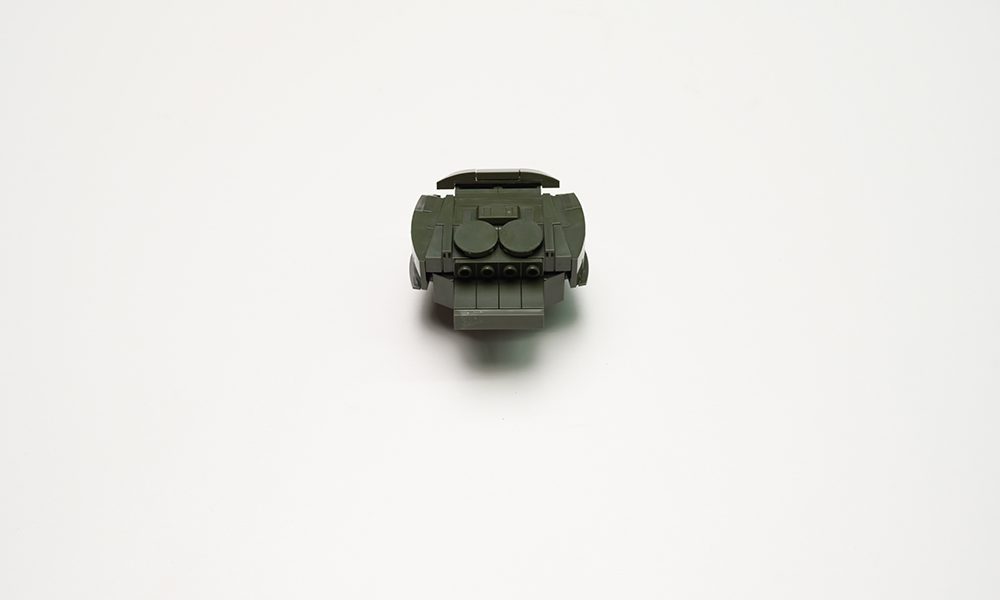
Step 185 features a small 1×2 piece that can be easily overlooked. The manual could benefit from adding an assembly arrow or a larger diagram.

Step 187 illustration.
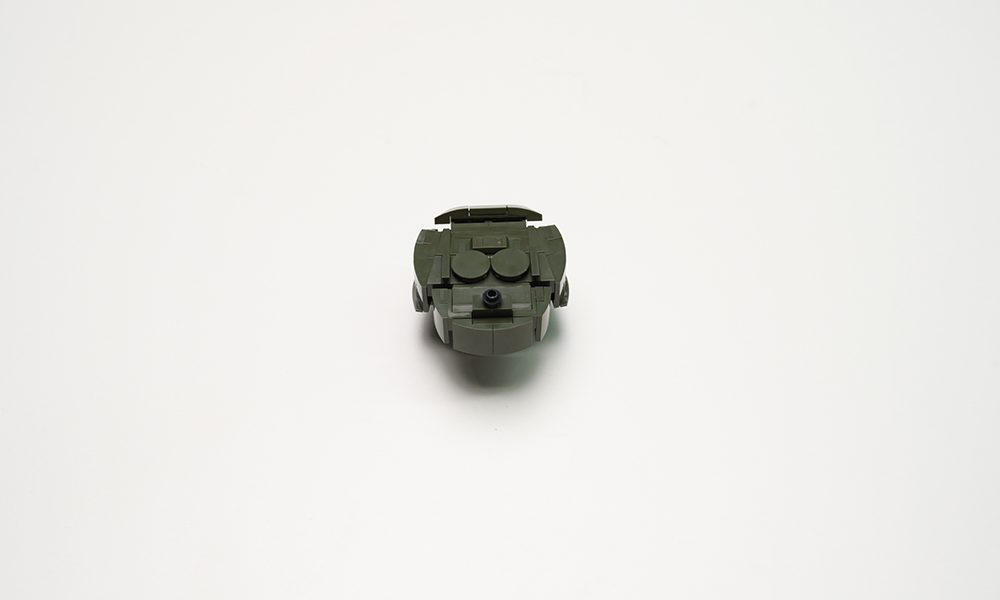
Turret barrel complete!

Finally, in Step 194, install the anti-aircraft machine gun.
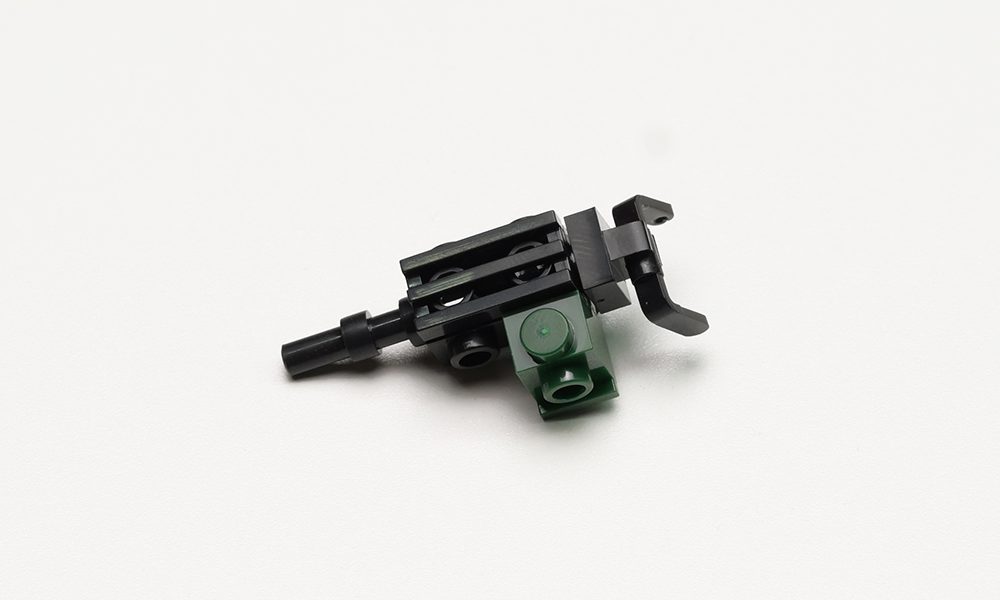
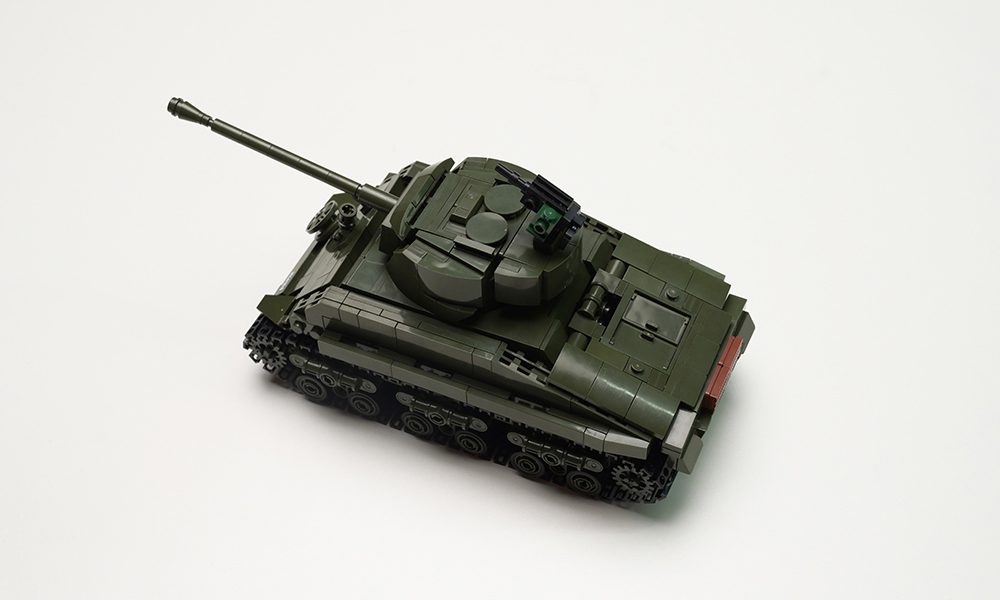
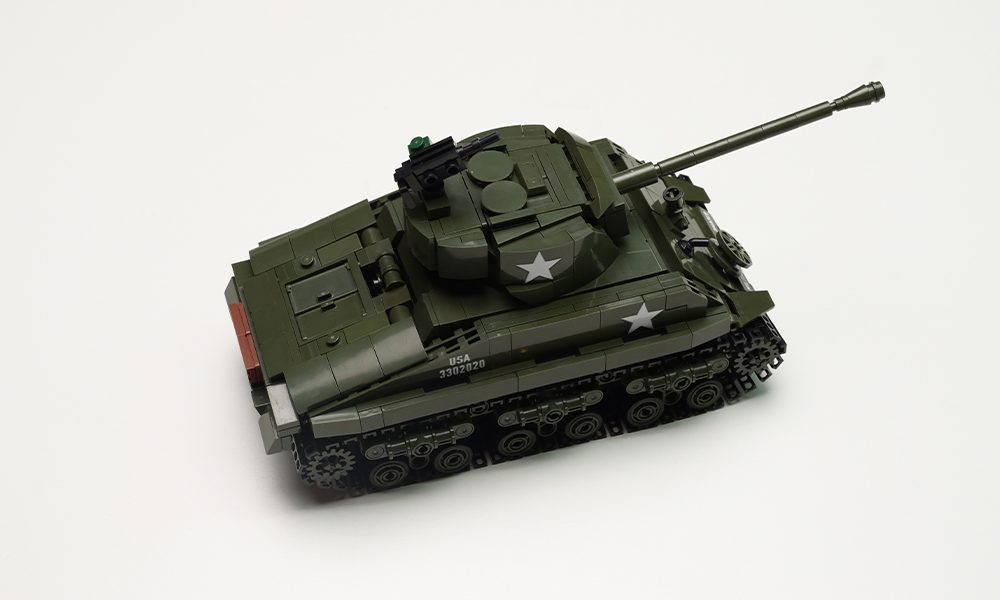
And that‘s it—the Sherman Tank is complete!
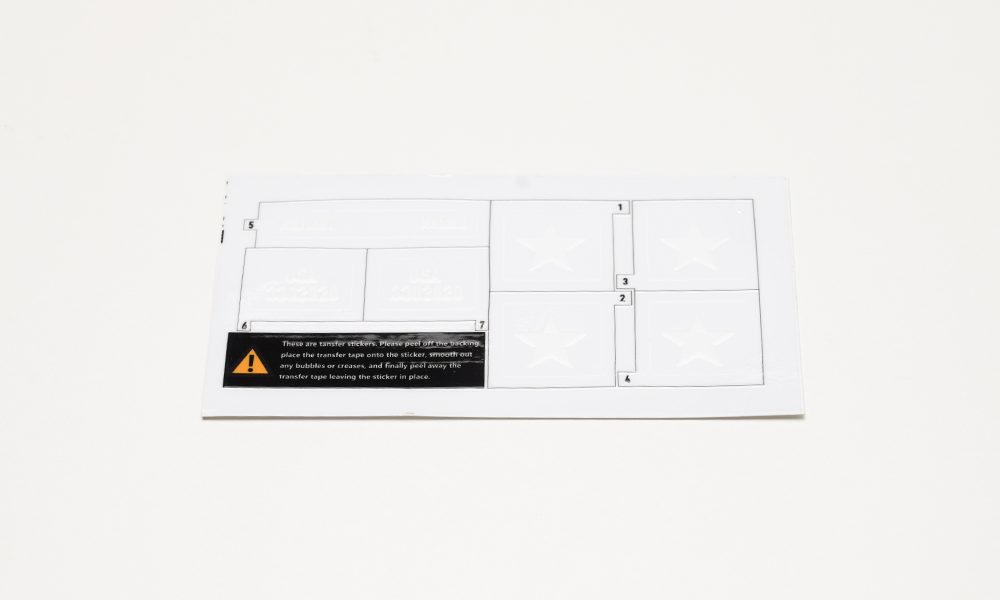
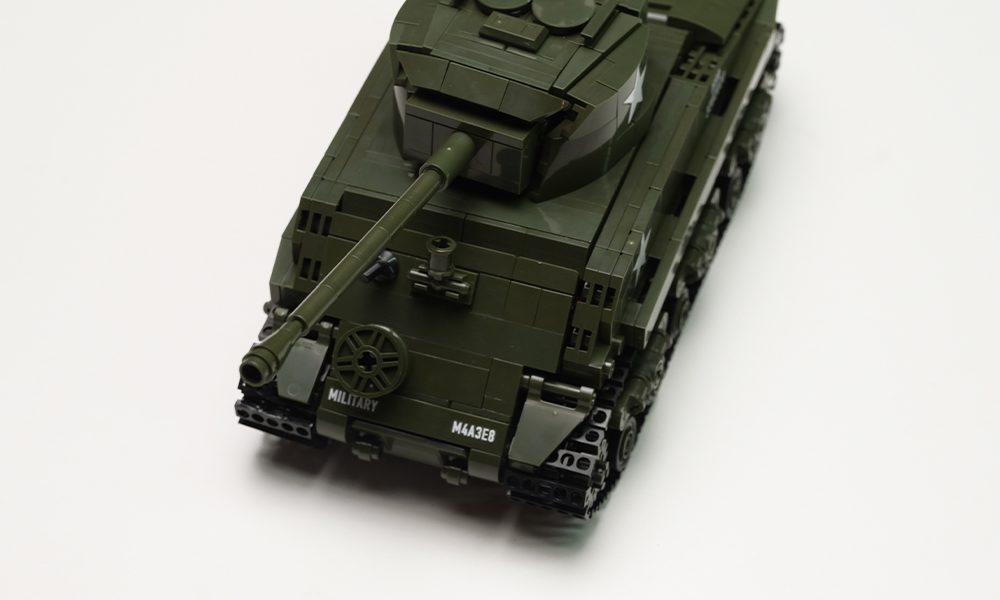
Time for decals! This kit uses water-slide decals, which look great but can be tricky to apply — the stickers are small with lots of white space, and the surfaces are tiny. A steady hand and tweezers are your best friends here.
III.Overall Evaluation
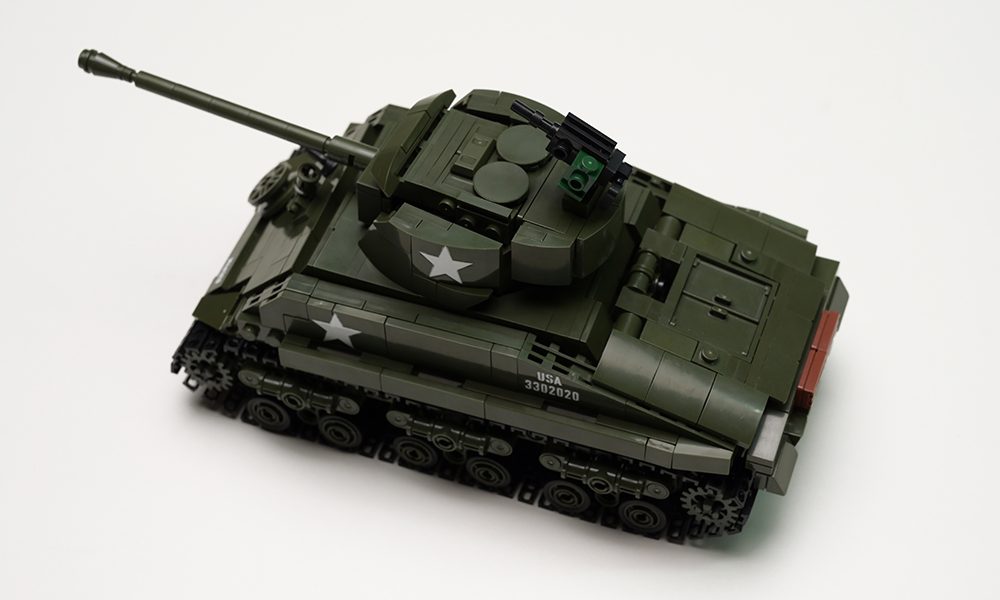
Overall, this Sherman Tank model can be described as “full of highlights, with a few minor flaws”.
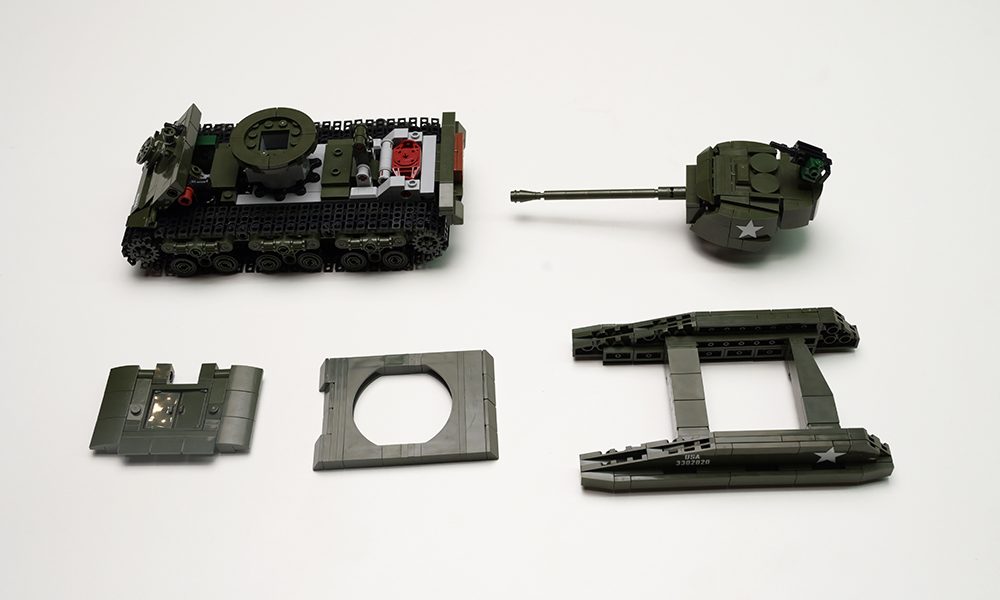
First, the modular quick-assembly design is fantastic: the entire tank is divided into sections, and assembling it layer by layer is incredibly satisfying. Plus, if you run into an issue, you can easily “fix” the problem like you’re repairing a real tank without needing to dismantle the whole thing. For someone like me, who occasionally needs to make small adjustments, this design is a dream come true.
Another highlight is the turret‘s rotating mechanism, which is controlled by a knob. The operation is smooth and intuitive, providing a satisfying experience—it’s almost like steering a mini remote-controlled car!
The tank‘s appearance is impressive: the proportions are well-balanced, the lines are sharp, and the details, from the tracks to the turret, are all faithfully recreated. With moving tracks and a hatch that opens, this tank is both fun to pose and to display—it truly looks like a Sherman on a shelf.
Of course, there are some minor issues. The manual could benefit from clearer diagrams, more highlighted repetitive steps, and better indication of hidden parts. Also, some steps are tricky because of part tolerance issues or structural stress points. For example, Step 178‘s 1×4 piece is a struggle to fit, and the stickers are a bit challenging—especially given the large blank spaces on the smaller parts. If you mess up the sticker placement, it‘s pretty much game over!
All in all, this is one of the most enjoyable builds I‘ve done recently. With some improvements to the instruction clarity, build sequencing, and sticker layout, it has the potential to go from a “good model” to an “outstanding model”.
- No Comments


