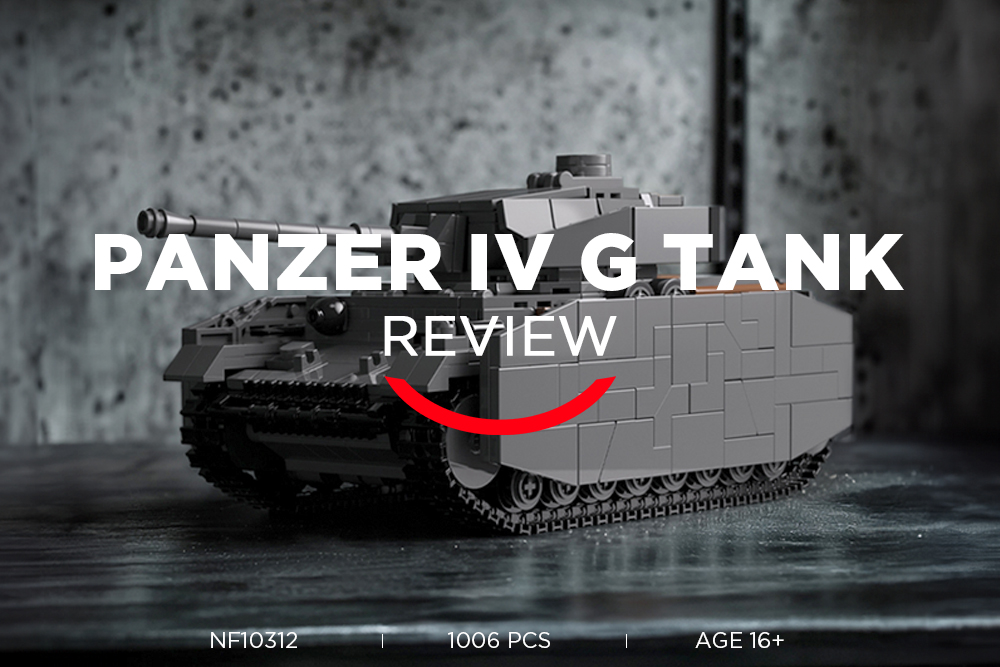
Panzer IV G Military Tank Review — A Brick-Built Journey into German Armor
")
")
")
")
")
")
")
")
")
")
")
")
")
")
")
")
")
")
")
")
")
")
")
")
")
")
")
")
")
")
")
")
")
")
")
")
")
")
")
")
")
")
")
")
")
")
")
")
")
")
")
")
")
")
")
")
")
")
")
")
")
")
")
")
")
")
")
")
")
")
")
")


Preface
“This hands-on review is NifeliZ’s collaborative experiment in authenticity: a diverse team—from office professionals and LEGO enthusiasts to musicians and photographers—built our own kits alongside fans to experience their joys, struggles, and “aha” moments firsthand. By sharing raw insights into what works, what doesn’t, and how we’ll improve, we aim to create products that truly resonate with builders while offering you practical guidance.
Whether avoiding pitfalls or enhancing your creative flow, this collective journey—fueled by varied perspectives but united in purpose—is designed to make every assembly smoother, every connection more meaningful, and every build a shared story of growth.”
You think this is just about building a tank? Oh no. This is a full-on battle with plastic particles — a test of patience, eyesight, and logic.
Hello again, I‘m Cecilia, and this time I faced the ultimate challenge: the Panzer IV Ausf. G. Along the way, I encountered surprises and shocks, moments of pure joy, and times I nearly gave up and switched to another kit. So come with me — let’s walk through the “battlefield“.
What’s in the Box?
● 13 parts bags (divided into 3 main sections):
• Section 1 – 5 bags (Steps 1–70)
• Section 2 – 4 bags (Steps 71–128)
• Section 3 – 4 bags (Steps 129–212)1 instruction manual
● 2 storage boxes
● 1 bookmark
All ready, let’s dive into the build!
Let‘s start with Section 1 – five parts bags in total.
Following the instructions, we opened Bag [1.4] to begin with the base assembly.
The chassis and wheels come together easily at first, but with every step the difficulty sneaks up behind you.
Next up is Bag [5.22]
Step 9, assembling small parts in a tight space is tricky — I recommend temporarily removing the piece from Step 7 to make this step easier. It helped a lot.
Step 10, the handle on the bucket is quite flimsy and falls off with a light touch. Press on the top while installing, and be extra cautious not to bump it later on. Small part, big headache.
Step 11 completed without issues.
Step 20 went smoothly as well.
At Step 22, the assembly illustrations lacked arrows for Steps 2 and 3. Missing this small detail nearly led me astray.
Even the final assembly image lacks directional cues. Not a big deal if you’re experienced, but definitely confusing for new builders.
Now on to Bags [23.47-1] and [23.47-2]
These parts include chrome-painted elements, marked with an asterisk.
At Step 28, make sure to press the side parts firmly; once installed, the effect is very solid.
Step 35 finished engine installation.
Step 47 wrapped up without problems.
Next up, we assemble Bag [48.70].
Step 53 completed.
Step 59 completed the ammunition compartment.
By Step 70, the basic frame structure was mostly complete.
Now we move on to the second set of parts, which consists of 4 parts bags in total.
Starting with Bag [71.91].
Step 79 finished smoothly.
Step 89‘s track length is slightly off but doesn‘t affect functionality — acceptable.
Step 91 included clear guidance in the diagrams.
Next, the tracks are assembled. Tracks come in a separate package numbered [10312.92].
The manual shows a 1:1 scale image for measuring and confirming track quantity.
I prefer breaking the tracks into smaller sections to assemble gradually — it works better.
Step 92 completes track installation, and the suspension system is also finished. At this point, the tank’s basic outline is nearly complete.
Next is Bag [93.116].
Step 110 finished without issues.
Step 116 only shows contour lines without detailed assembly guidance.
Continuing with Bag [117.128].
At Step 117, the final small piece must be pushed all the way to the bottom.
Step 127‘s part is obscured in the image — I recommend adding zoom-in details to improve readability.
Step 128 lacks assembly arrows, causing unnecessary confusion.
Finally, we enter Bag Set 3 to assemble the turret, consisting of 4 bags.
Starting with Bag [129.150].
Step 139 completed smoothly.
Between Step 142 and 143, the direction isn‘t marked. The piece just drops into place without fixed points, which also makes quick disassembly for detail viewing easy.
Step 150 completed with fairly stable structure.
Now, assembling Bag [151.184-1] and [151.184-2].
At Step 153, the 1×2 pieces are hard to fix.
The best way is to assemble the Step 153 part first, then merge with Step 152 — felt like uncovering a “hidden secret“ during assembly.
Step 158 missing one piece — the manual called for four but I only had three.
Step 160‘s black piece is very tight, it‘s hard to press by hand. Using a tool for gentle tapping helps.
Step 177 also missing one part again, which is quite frustrating.
At Step 183, the curved piece must be precisely snapped into the middle of the notch or it‘s hard to align.
Step 196‘s turret connection only has two attachment points at the bottom. When lifted, it feels like opening a blind box — you never know if it will suddenly fall off.
Finally, the skirt assembly — the clips work smoothly, easy to remove and install.
Complete!
The Panzer IV Ausf. G tank‘s exterior design is impeccable, with accurate proportions and a well-captured silhouette. The barrel‘s lines are smooth, and the tracks connect tightly — at a glance, it has the aura of a museum-grade display model, delivering a strong visual impact. The overall design is highly detailed, especially the barrel and tracks, demonstrating exquisite craftsmanship.
A standout feature is the removable side skirts, which are a major highlight of this model. The side skirts use simple clip connections that are sturdy when installed and smooth when removed — no need to “force them off“. Once installed, the combat atmosphere is fully enhanced; removed, the tracks and wheels are fully exposed, revealing the mechanical structure in detail. Even better, the whole model allows quick disassembly to reveal the metal-plated engine parts and interior — greatly boosting playability and display value.
Personally, I love the display style with the side skirts removed. The tank looks more sleek and refined, the “exposed armor aesthetics“ are right there, and it‘s convenient for detailed display, photography, or modifications — a dream come true for brick enthusiasts.
But getting to this “ideal state“ is not an easy journey. Issues like unclear directions, obscured steps, missing parts, and loose connections repeatedly occur in the instructions. Sometimes you have to rely on experience to “blind assemble“. These affect the building rhythm and also leave some instability in the final structure. Some connection points feel loose, causing small parts to frequently fall off when moving the tank. This “perfect from afar but flawed up close“ phenomenon somewhat dims the model‘s performance.
Overall, this tank model excels in appearance and functional design, but still has room for improvement in structural stability and part connections. If these details are refined, it will be even more perfect — truly achieving the “stunning from every angle“ effect.